This post was most recently updated on April 1st, 2021
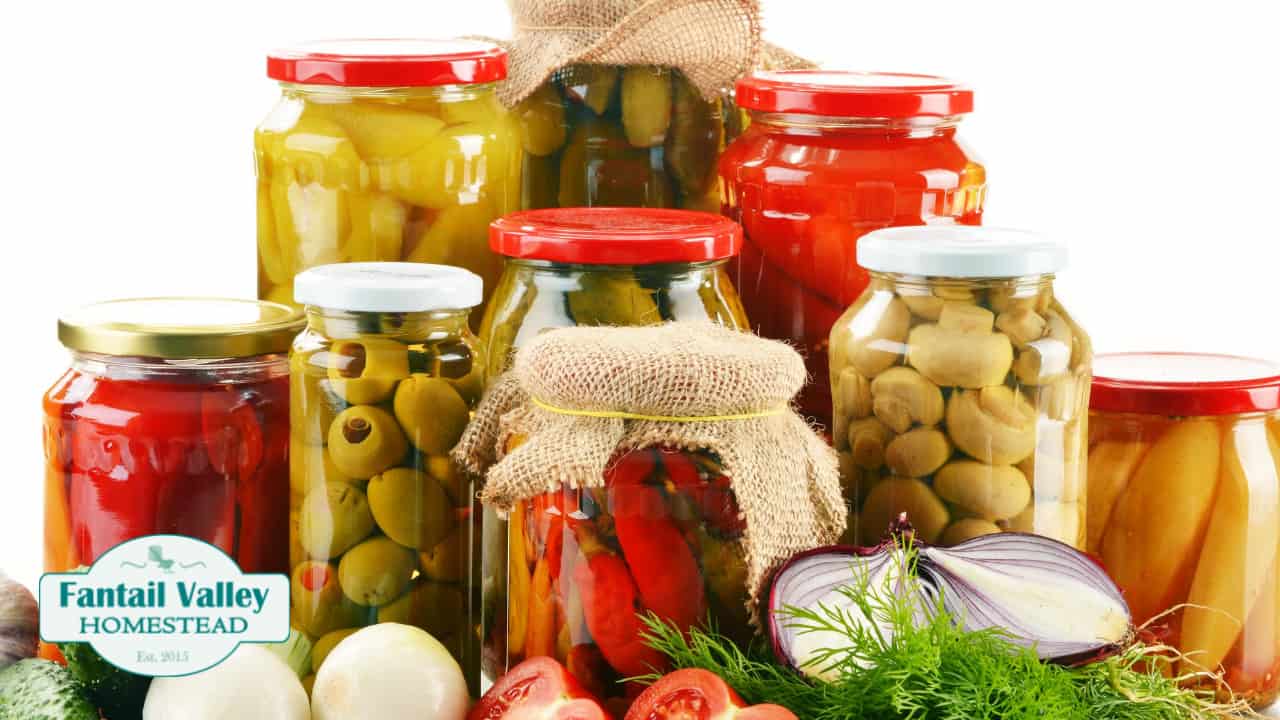
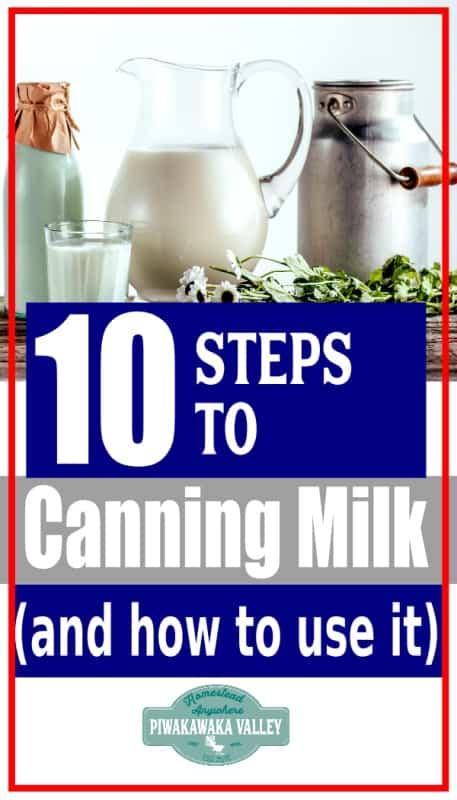
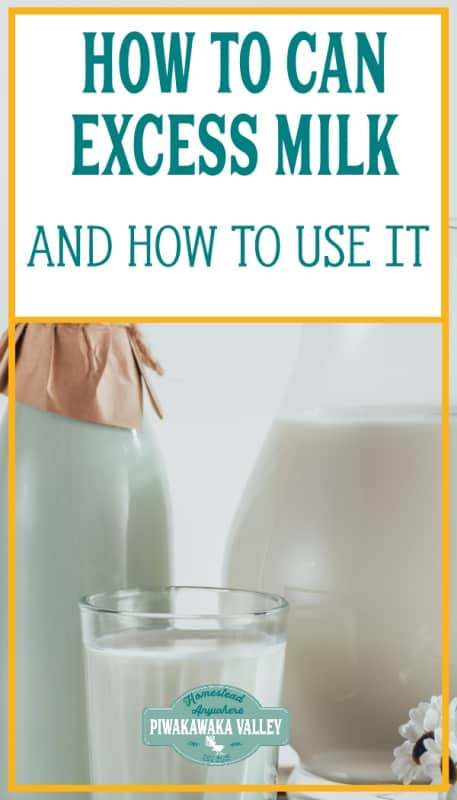
If you have a dairy animal, chances are at times of the year you will end up with excess milk. Maybe you bought a large volume of milk on sale, or you live quite a drive from the store and you buy your milk in bulk, canning milk is a great alternative to freezing milk. Here are the directions on canning milk safely at home using a pressure canner and how to use up canned milk.
Please read: This information is provided for educational purposes only and is not intended to treat, diagnose or prevent any disease. We encourage you to make your own health care decisions in partnership with a qualified health care professional.
This post contains affiliate links, this means at no extra cost to you, we make a commission from sales. Please read our Disclosure Statement
RELATED: freezing milk in jars
Canned milk may not taste exactly the same as fresh milk, though if you chill it well you would be hard pressed to tell the difference. Canned milk is however wonderful for using in cooking and baking. Below are some great recipes to use up excess milk.
What you need to can milk at home safely
You will need a pressure canner if you want to can milk at home safely. There are old timey recipes around using a waterbath to can milk, but because milk is a low acid food you need the high heat and pressure of a pressure canner to ensure you don’t end up with botulism.
RELATED: Pressure canning carrots
You cannot use a pressure cooker to can foods, it doesn’t reach a high enough pressure. However if you have a pressure canner, then you can cook in it.
This is the pressure canner that I have and I love it. If you are in Australia or NZ you can try getting one from a place called ozfarmer.
- Canning jars
- New seals
- Screw bands that fit the jars
- Pressure canner and jar rack
- Jar lifter
- Milk
Steps for Canning Milk at Home
1. Clean your jars
They do not need to be sterile because the pressure canner will do that, but they do need to be very clean. Either put them through the dishwasher or simply wash them well with soap and water, be sure to rinse well.
Check carefully for chips or cracks and discard those jars.
2. Heat your seals
My new seals do not need pre-heated but if yours do, now is the time to put them in a bowl and pour boiling water over them.
3. Add your milk
Fill the jars allowing 1 inch of head space – the gap at the top. If this is milk directly from your farm, be sure to filter it on the way in to the jars.
Only use fresh milk from your farm, milk that is a few days old will be more acidic and is likely to curdle when you process it. If you are using milk from the store it will be fine as the pasteurization process stabilises it.
4. Add the seals and bands
Wipe the rims of the jars, checking for any chips or cracks in both the edge of the jars and on the seals. Damaged jars or damaged seals won’t work.
Screw down the bands with just your fingertips until it is tight.
5. Add water to your canner
Follow your pressure canners directions and add as much water as it suggests. I add 4 liters/quarts to my 23 quart canner.
Place your canner on the cook top and add your jars on top of the rack.
REMEMBER – hot milk, hot jars, and hot water in the canner pot OR cold milk, cold jars and cold water in the canner.
6. Seal on your lid and put on high heat
Check that your canner lid is in good shape, ensure none of the seals are cracked or need replaced. Place your lid on properly but with the rocker off. Set your canner on high and bring to a boil.
7. Vent for 10 minutes
Once your pot is boiling and there is a constant stream of steam coming out the vent set your timer for 10 minutes.
8. Place your rocker
After 10 minutes place your rocker on and allow the pressure to build.
If you live under 1000ft/303m altitude then you are aiming for 11psi, if you live above this you will have to aim for 15psi, follow your canners directions for altitude adjustments.
9. Wait until pressure is met
10. Turn off and walk away
Once the pressure required is reached, turn your cooktop off and walk away. This allows the pressure to normalise slowly as the temperature declines. If you rush this process you will end up with failed seals and siphoned liquid out of the jars.
Leave the pressure canner for 6-8 hours for the pressure to normalise.
11. Remove the rocker
Take off the rocker and leave it for another 10 minutes. This ensures the pressure is really back to zero.
12. Remove your jars
Take your jars out of the pot and place them on either a wooden board or a folded towel. This is to avoid giving the jars cold shock which will shatter your jars.
Leave the jars alone for 24 hours or until completely cold.
13. Check your seals
Remove the screw bands and check that the tops of the cans are concave and firmly sealed. If the seals have failed you can reprocess them immediately, or you can store the jar in the fridge to use within the next week.
I love the Ball canning book recipes and instructions combined with my own canners recipe book.

![]()
How to use canned milk or use up excess milk
Below are some of my favourite recipes to use up excess milk or make with canned milk. Click on the title to access the recipe.
Grandmas chocolate pie
This creamy rich pie will remind you of your grandma’s cooking

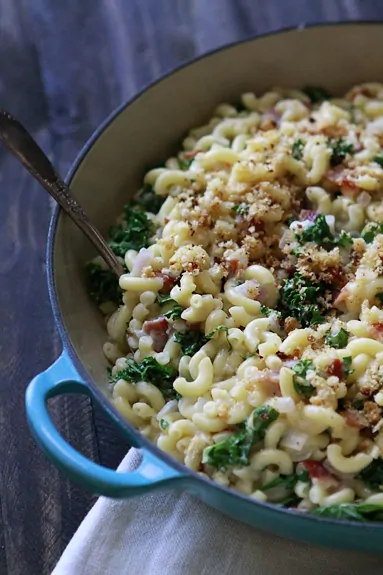
Baked White Cheddar Mac n Cheese with Kale and Bacon
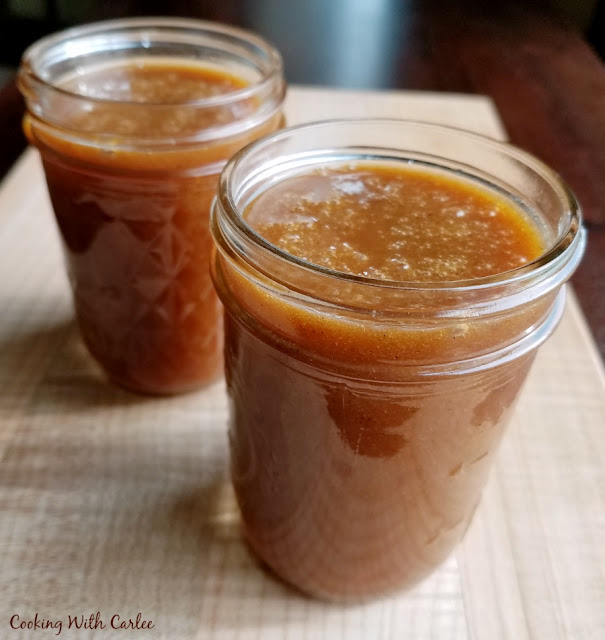
Homemade Dulce de Leche
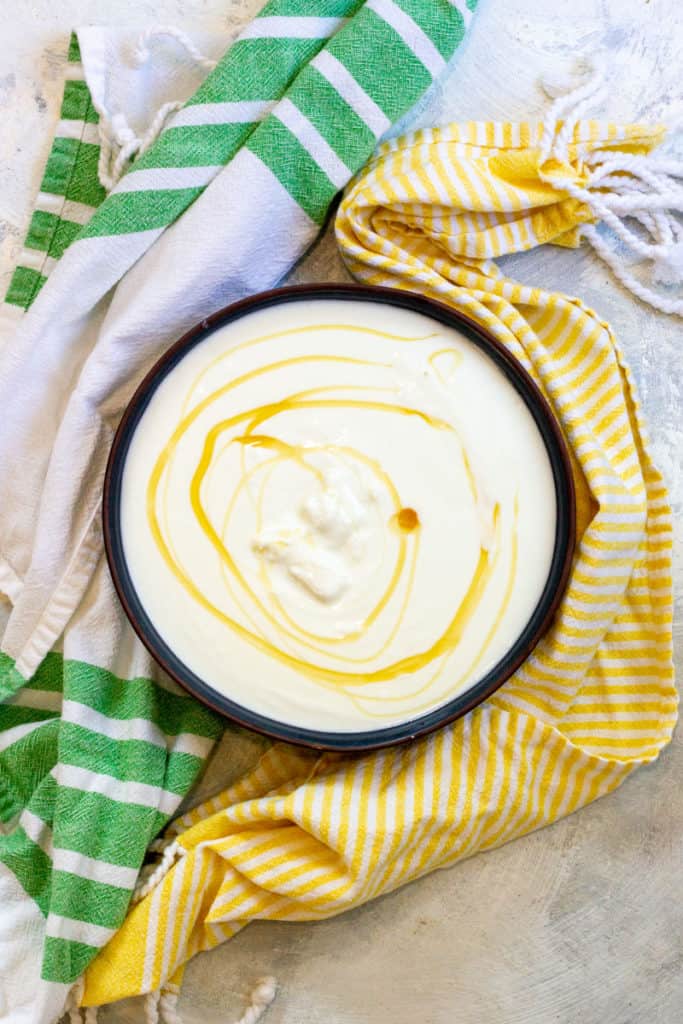
Instantpot Yogurt
This Instant Pot yogurt is easy to make at home, and all you need is milk and a yogurt starter. Plus, strain your yogurt to make Greek yogurt!
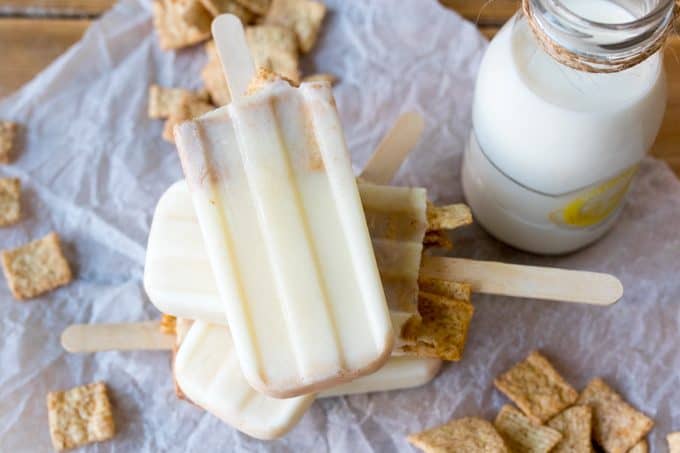
Cereal-milk Popsicle
A creamy, sweet and cold way to enjoy your fave cereal and it covers the canned milk taste!
Creamy Junket
A light and frugal milky pudding, popular in medieval England. My modern version of Junket uses vegetarian rennet, and is served with Cornish clotted cream and fresh raspberries.

Cream of chicken and wild rice soup
Rice pudding (my favourite!)
I love the Ball canning book recipes and instructions combined with my own canners recipe book.
![]()