This post was most recently updated on September 21st, 2021
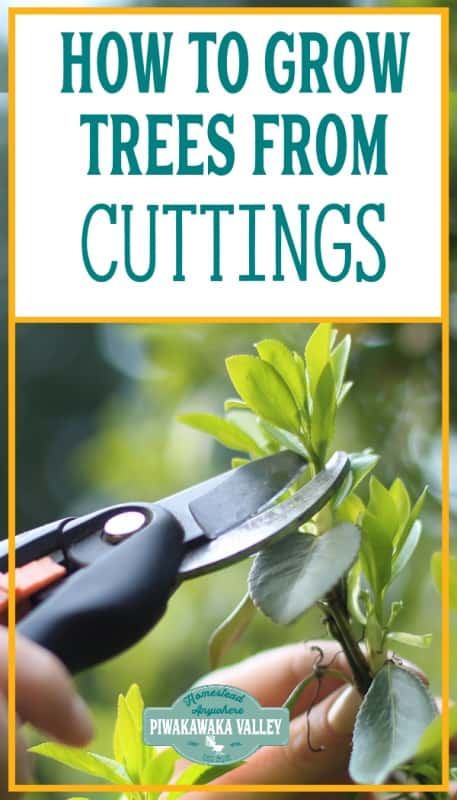
If you are wanting to get a lot of plants for free or for cheap, propagating your own trees and shrubs at home is definitely the easiest option. In this post I will show you how to take hardwood cuttings of most trees and shrubs.
Please read: This information is provided for educational purposes only and is not intended to treat, diagnose or prevent any disease. We encourage you to make your own health care decisions in partnership with a qualified health care professional.
This post contains affiliate links, this means at no extra cost to you, we make a commission from sales. Please read our Disclosure Statement
Methods for propagating trees and shrubs
There are several ways to propagate trees at home. Each have their own benefits and downsides.
Propagation from seed
This is a slower option, tree seeds often need to sit in the soil for at least one winter for their protective outside coating to break down. Germination is patchy and staggered.
The upside to growing from seed is that you can usually do it for free, the plants grow better root systems and it encourages better genetic diversity.
Stone fruit (peaches, plums, apricots, cherries etc) and nut trees (hazel, walnut, chestnut etc) will grow true to type from seed.
Propagation by grafting
Some fruit trees do much better by grafting scion wood (last seasons growth from the type of tree you want) on to root stock ( a hardy, disease resistant variety). Pip fruit (apples, pears etc) do not grow true to type and you will need to graft them.
This is usually done in early spring and the advantage is that you get the exact type of tree as the parent plant, and the root stock controls disease resistance and plant size.
To learn how to graft see this post on grafting fruit trees at home.
Propagation from cuttings
There are two types of cuttings to start shrubs, bushes and trees — hardwood cuttings and softwood cuttings. These phrases refer to the state the wood of the plant is in. New growth that is still pliable and has not yet developed a bark exterior is called softwood. Older growth, which has developed a bark exterior, is called hardwood.
Want to know more about growing your own food? Let me help you!
Propagation from softwood cuttings
The upside to using softwood cuttings is that the actively growing parts of the plants are full of the hormones needed to grow roots. Cuttings are usually taken in mid spring-mid summer.
The downside is that they need to be kept very moist, and this usually involves spraying them with a fine mist every few hours.
Blueberries do best from softwood cuttings.
Propagation from hardwood cuttings
Hardwood cuttings are slower to root, but are easier for the home gardener to achieve. These cuttings are taken while the plant is dormant in winter and it works best for deciduous plants.
There are other plant propagation methods including:
- Layering
- Leaf cuttings
- Planting offsets
- Planting Runners
- Division of established plants
- Bulbs and corms
Easy plants to propagate from cuttings at home
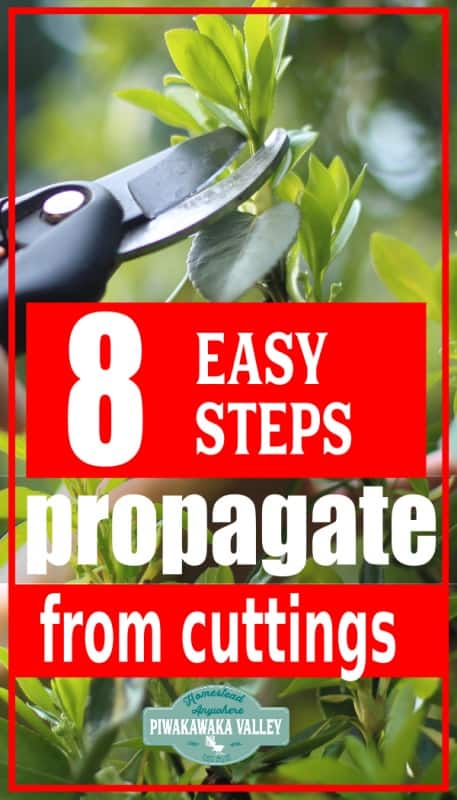
Not all plants propagate easily from cuttings, but many do. If you are new to propagation by cuttings, try some of these easier options first:
-
- Berry canes (raspberry, blackberry, boysenberry)
- Rosemary
- Lavender
- Fig
- Succulents of all types
- Pothos
- Tradescantia
- Umbrella plant
- African violets
- Philodendron
- Prayer plant
Tips for Growing Plants from Cuttings
One of the best things about plants is that they have a drive to survive and reproduce, meaning many will grow from cuttings readily.
Tips for propagation from cuttings:
- Start with a healthy mother plant
- Use a no-soil mix
- Use a rooting powder or liquid
- Use bright light but not direct sunlight
- Even moisture is key
- Humidity will stop the cutting drying out
- Bottom heat helps
- Once established move the plant to soil
- Root growth can take anything from a few days to months depending on the variety.
Healthy Plants
Cuttings from a healthy mother will grow better. Any disease from the parent plant can be passed on to the new plant, so choose healthy material for your cuttings.
No soil
Normal potting soil is too rich for the tender shoots, and you will find that most do not drain well enough to avoid the cutting from rotting.
To make a good planting mix without soil is easy.
You can use a mixture of one part of peat moss or vermiculite and one part of perlite or builders sand or a combination of the above.
In the video below the mix I used was:
1 part peat moss
1 part vermiculite
2 parts builders sand/propagation gravel
Rooting powder or Gel
While you can take cuttings without using a rooting powder/gel, using one really does give a much greater success rate. The powder helps to seal the cut edge of the cutting and promote new plant growth and most have an added antifungal additive that helps prevent rot. This is a good one.
Light for cuttings
Rooting plants need plenty of bright light, without being in direct sunlight that might dry them out. Grow lights are a great aid in propagating plants otherwise put them somewhere near a window or in a bright tunnel house.
Humidity
New cuttings will dry out easily and this will kill them quickly.
A plant mister works well to keep the humidity where it should be, you can just use a spray bottle or misting setting on your hose, or you can set up a fancy automated system.
Cuttings need humidity, they don’t like to sit in water, so a fine misting multiple times a day is what is needed for softwood cuttings, hardwood cuttings need high humidity too – You can also cover cuttings until they are rooted by placing the whole pot inside a plastic bag.
Bottom heat
Nothing encourages root growth like a good amount of bottom heat. Plants where the soil is 20-30C (70-85F) will root much faster. The easiest way of achieving this is using a heat mat like this one, or by building a propagation table like ours.
If you are using a heat mat, be sure to use a tray that stops the water going on to the mat!
How to take hardwood cuttings
Hardwood cuttings are only taken from shrubs, bushes and trees that lose their leaves every year. This method will usually not work with evergreen plants, though rhododendrons and azaleas and a few others do, if in doubt, give it a go!
1. Choose your wood
Look for wood that was last seasons growth that has started to harden off. It should be covered in bark but shiny and fresh looking. They are still somewhat flexible but it is not the fresh green growth.
2. Make your cutting
Cut off a hardwood cutting that is 6 to 10 inches long (15-25cm).
3. Trim to encourage root growth
Trim the end of the cutting to be planted just below where a leafbud grows on the branch, this area is also called a leaf node. This area is full of the growth hormones that will either grow roots or leaves.
Cut off the top of the cutting so that there are at least one additional leafbud or node above the bottom node.
Also, make sure that the area left is at least 4 inches (10 cm.) long.
Additional higher or lower buds can be left on the branch if necessary to make sure the branch is at least 4 inches (10 cm.).
Strip the leaf buds / leaves off of the bottom 2 inches/5cm.
4. Add rooting hormone
Place the stripped area into rooting hormone – either powder, gel or liquid. Tap off the excess.
5. Plant the cutting
Put the stripped end into a small pot of damp soilless mix, poke a hole in the mix with a sick first, this will help keep the rooting hormone on the cutting. Press the potting medium down firmly around the cutting.
Water the cutting well.
6. Keep humid and warm
Wrap the whole pot and cutting in a plastic bag. Tie off the top but make sure the plastic is not touching the cutting at all. Or make a propagation table, or use a plastic tote with some ventilation holes drilled in the sides at the top.
Place the pot in a warm spot that gets indirect light. Do not put in full sunlight. You may like to use a heat mat at this point.
Water your cutting every day or two as required to keep it moist. If the cutting has leaves, you will need to mist these daily at least even on hardwood cuttings.
7. Check for root growth
Check the plant every two weeks or so to see if roots have developed by gently tugging on the cutting, rooted cuttings will give resistance. Once roots have developed, remove the plastic covering.
After a couple of days you can turn the heat mat off. Keep up the watering.
8. Pot on your cuttings
After another week or so you can pot your cutting up in to potting mix. Be sure to baby the plants after transplanting for a few days to let them adjust to the root disturbance – water them well, keep them out of direct sun and keep them out of extreme temperatures.
The plant will be ready to grow outdoors when the weather is suitable. Be sure to slowly acclimate your plants to outside by hardening them off.
How to Root Softwood Cuttings at Home
Softwood cuttings are normally taken when the plant is in active growth, which is usually in the spring.
This will be the only time you will be able to find softwood on a shrub, bush or tree. This method can be used with all types of shrubs, bushes and trees, but it takes a little more dedication to getting it to work successfully.
Take your cuttings
Cut a piece of softwood off the plant that is at least 6 inches (15 cm.) long, but no longer than 12 inches (30 cm.).
Make sure that there is at least three leaves on the cutting.
Remove any flowers or fruit on the cutting. Trim the stem to just below where the bottom most leaf meets the stem and remove those leaves. Ideally now the cutting will be about 4 inches (10cm).
On each of the leaves on the stem, cut off at least half of the leaf, this is to minimise water loss, while still allowing the plant to photosynthesize.
Pot them up
Dip the bottom of the cutting to be rooted in rooting hormone powder, gel or liquid.
Put the end to be rooted into a small pot of damp propagation mix as described above.
Place in a tote
Place the pot in to a plastic tote with a lid. Twice a day open the tote and mist the leaves lightly with a spray bottle, increase this if you notice that the leaves are drying out.
The tote should be somewhere with plenty of light but out of direct sunlight. Placing a heating mat under the tote will help speed up rooting.
Check for root formation
After two weeks start checking for root growth – tug lightly on the cuttings, if you feel resistance then the cutting has developed roots. Leave the lid off of the container once all your plants have developed roots.
Pot up and plant outdoors
After another week or so you can pot your cutting up in to potting mix. Be sure to baby the plants after transplanting for a few days to let them adjust to the root disturbance – water them well, keep them out of direct sun and keep them out of extreme temperatures.
The plant will be ready to grow outdoors when the weather is suitable. Be sure to slowly acclimate your plants to outside by hardening them off. Don’t rush to plant these baby plants out in the garden, many are grown on in pots for 4-12 months before venturing out into the wild by themselves.
If you would like to watch my plant propagation for this winter then check out the video below:
If you would like help getting the most out of your garden, I would love to help you, find out more here
RELATED: Free Gardening Resources
If you like tips on frugal living, self sufficiency and consuming less, sign up to our newsletter below, I would LOVE to have you
For further reading, I really recommend all of these books. I own every one of them and they are amazing resources!

![]()

![]()

![]()
![]()

![]()