This post was most recently updated on March 2nd, 2020
At this time of year there are a lot of people buying baby chickens and other baby poultry. They are fragile little beings that need to be kept safe and warm. This expandable DIY chicken brooder is exactly what you need.
Please read: This information is provided for educational purposes only and is not intended to treat, diagnose or prevent any disease. We encourage you to make your own health care decisions in partnership with a qualified health care professional.
This post contains affiliate links, this means at no extra cost to you, we make a commission from sales. Please read our Disclosure Statement
My clever mother designed this DIY chicken brooder with bits and pieces she had lying around. Over the course of raising several batches of chickens, she has improved it to the point where it is ready to share with you lovely folk.
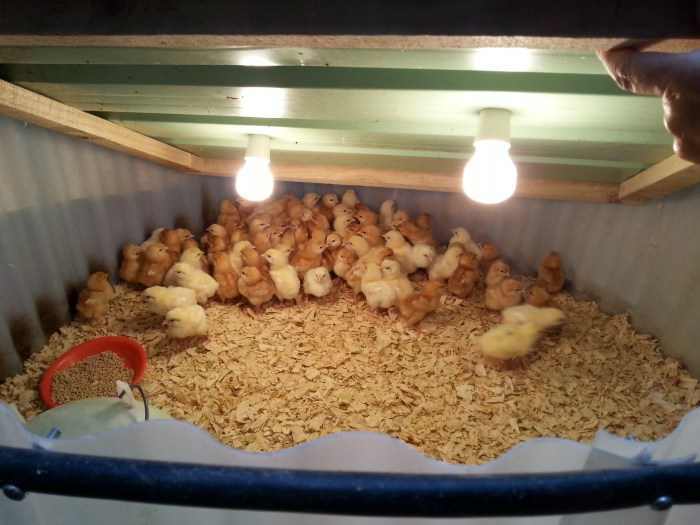
This last week she picked up 80 day old chicks – 20 commercial meat chickens and 60 layers. They all fit in here quite happily, with plenty of room to spare. This DIY chicken brooder is so clever – it expands as they grow!
This DIY chicken brooder is so clever – it expands as they grow!
Ideally, you would raise your chicks inside. Not necessarily in the house – though I am sure we have all been there! My ma has a pen in her barn set aside for it, and I want to build a small shed to raise them in at Piwakawaka Valley.
If you released 20 baby chicks in a large pen, they will likely die from the cold. But on the other hand, if you keep them in a brooder box, they quickly outgrow it.
The other problem with a square pen or box is that they tend to all crowd into the corners and they squash and suffocate each other, which can result in plenty of deaths. This round expanding chicken brooder fixes all that.
How to Build your Own Expanding DIY Chicken Brooder
You need:
2 x 6ft/2.4m sheets of cheap corrugated plastic roofing – the cheap stuff is easy to cut and more flexible for this use.
A length of hose about 32ft/ 10m long (cut into two bits of equal length)
Little 1 1/2 inch /40mm nuts and bolts
A sheet of roofing iron 2ft x 2ft / 600x600mm
2 light fittings and cords
A pulley
5 x carabiner clips or D bolts
4m/12ft of light chain
Some rope
An old large bed sheet or curtain
Construction of the Expandable Chicken Brooder
For the sides:
Cut the lengths of corrugated plastic into strips 2ft/600mm wide. The easiest way of doing this is heating the plastic with a hairdryer while cutting it with a craft knife.
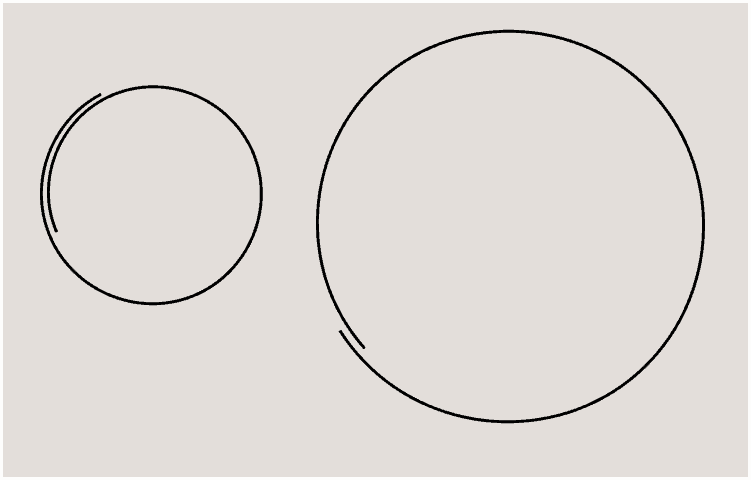
Lie the plastic down in a long row, overlapping by one lump of the corrugate. You will end up with about 15 1/2ft/4.8m
RELATED: Broody hen vs incubator
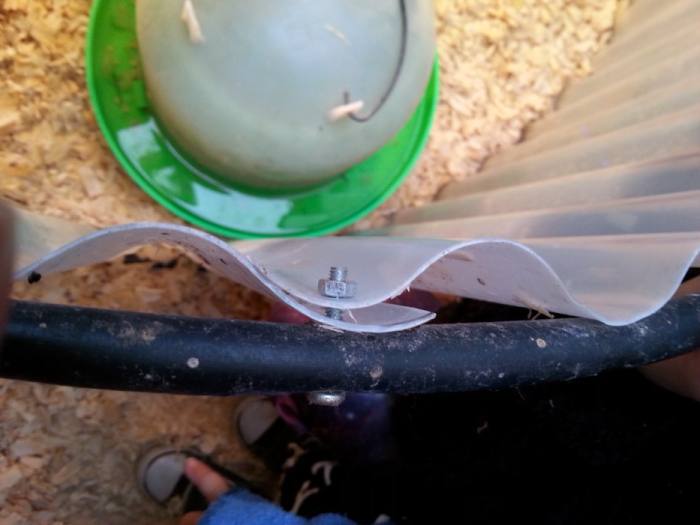
Next drill holes along the hose, attaching the plastic to the pipe with nuts and bolts as shown. Run a length of hose along the top and the bottom of the plastic.
For the Light Shade:
Make a frame to hold the tin flat. Cut 4 pieces of 1x2in/25×50 timber to fit the edges of your piece of roofing iron. Use screws to attach this to your iron.
Using a large drill bit, make two holes diagonally opposite each other in the sheet of roofing iron. You will want these to be at least 6in/15cm in from the edge. Then use either a jigsaw with a metal-cutting blade or some tin snips to make the holes large enough for the inside of your light fitting.
Unscrew your light fittings. Place the top of the fitting with the cord on the top of the tin, and the piece where the bulb goes into underneath the tin, and screw them together like the tin is a giant light shade.

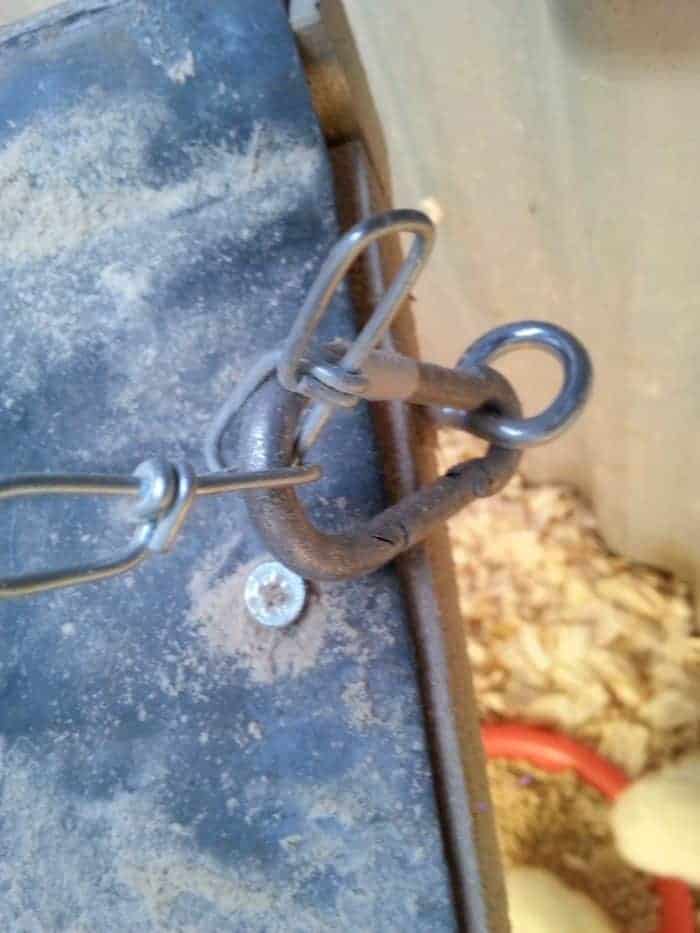
In each of the four corners of the wooden frame, screw in a large eyelet and attach a carabiner clip.
Cut lengths of chain to reach from each of the eyelets on the corners to meet in the centre. Add another carabiner clip into the centre to hold them all together.
From the centre carabiner clip, you can either attach a rope through a pulley, or you can add more chain and simply hang it from the roof at a set height.
How to Set Up Your Expanding DIY Chicken Brooder
From either a hook, eyelet or the pulley system, suspend the light shade at least 1ft/30cm from the ground. This is to prevent setting anything on fire.
Use 100w incandescent bulbs in your light fittings. If you use heat lamps, you will need to hang the lampshade higher off the ground as they put out quite a bit more heat. You don’t want to cook the poor little chickens.
If you can, you should put the chicken brooder on a pulley system, then you can raise and lower it depending on how the chicks are acting.
RELATED: How to feed chickens on the cheap
When they are all huddled around the lamp, they are cold and you should lower it, or increase the wattage of your lights. If they are all sitting away from the lights with their little wings up, then they are too hot, you need to raise the lamps up.
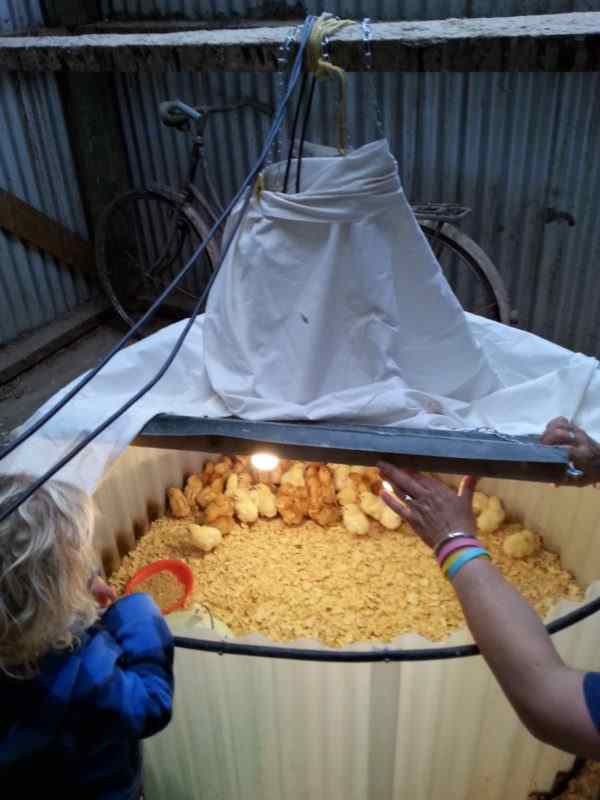
Once the light of the chicken brooder is hanging where you need it to be, you can install the walls. To start with you can pull the walls around fairly tight around the lampshade.
Sprinkle the ground in pine wood shavings, and add food and water. Wrap the whole thing in a large sheet and peg it together teepee style, with a vent at the top. This will help keep the heat in, without them running out of air or letting it get too hot. It also discourages them from flying out once they get to that point.

What to do as the Chicks Grow
Each week you should be able to raise the lamp by 5- 10cm/2-4in. In warmer areas once they have their feathers they should not need heat. In cooler areas, you will need to keep the lamp on them until they are 8 weeks old.
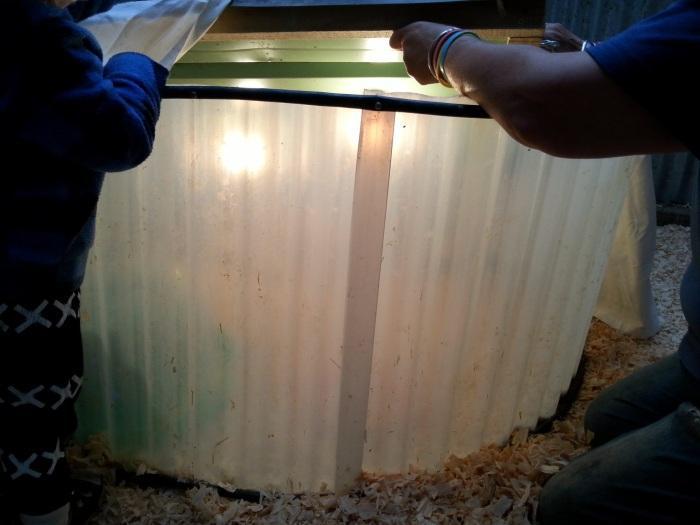
As the chickens grow you can make the walls overlap less, and make the overall pen larger. You can use pegs, or clamps to hold the overlapping pieces tight against each other.
Now, this is not by any means predator or toddler proof. You need to have this set up inside a secure pen, shed or room.
For further reading I would recommend:

![]()

![]()

![]()
So there we are then, an expandable DIY chicken brooder, that you can make yourself for very little investment. What do you use to raise your chicks?
Please Pin and share with your friends and family!