This post was most recently updated on June 1st, 2021
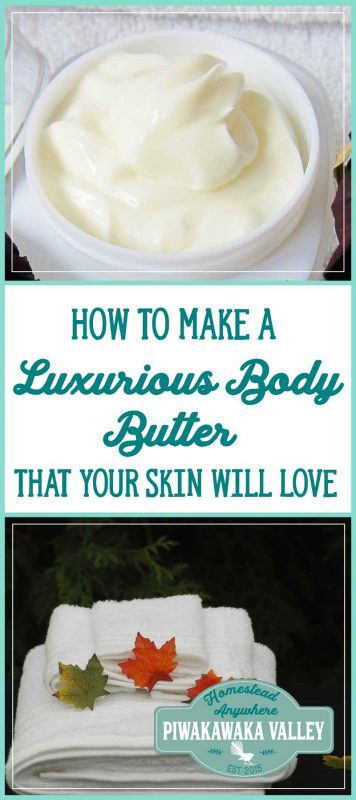
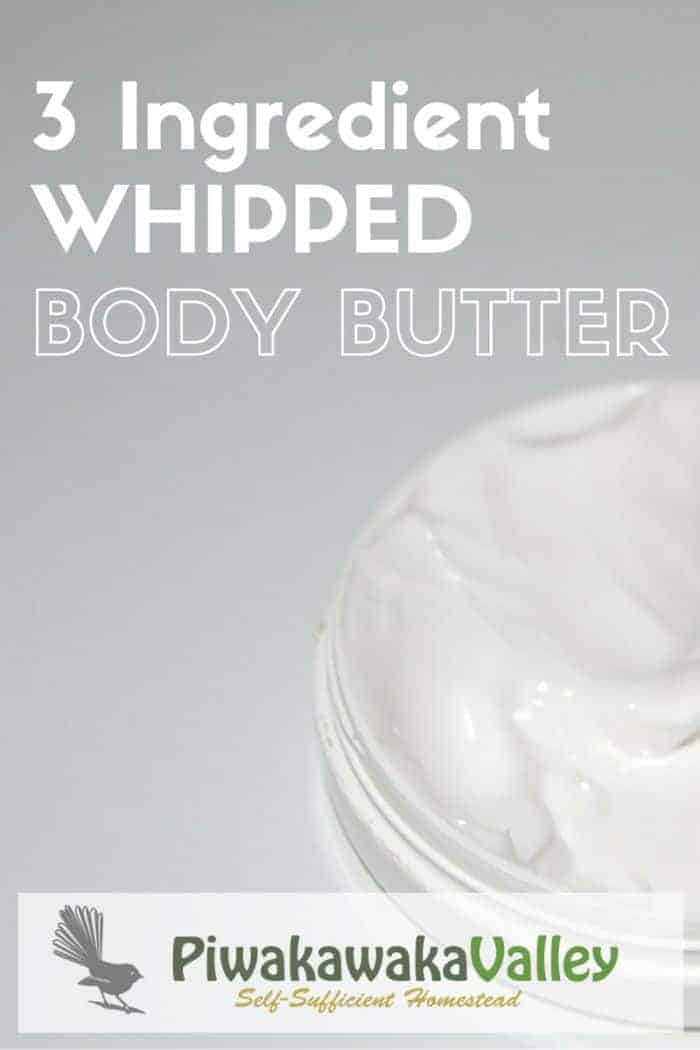
This is a very simple go-to recipe for an old fashioned whipped body butter. It is really easy to make your own body butter at home.
Please read: This information is provided for educational purposes only and is not intended to treat, diagnose or prevent any disease. We encourage you to make your own health care decisions in partnership with a qualified health care professional.
This post contains affiliate links, this means at no extra cost to you, we make a commission from sales. Please read our Disclosure Statement
This body butter recipe is so great for very dry skin, or just on your hands after gardening. Making skincare products at home can be quick and simple! This is a totally natural, hypoallergenic body butter recipe.
I got in to making natural skin care years ago when my babies reacted to the so called “mild” baby soaps. This DIY whipped butter is a firm fave of mine.
This is a nice easy and satisfying introduction to making your own body care items at home and it makes a wonderful homemade Christmas or birthday gift for someone.
Get inspired, get crafty, and get ready, because we welcome you to join us in a remarkably rewarding, life-changing maker’s quest to create your own good-for-the-body, sumptuous skin care products at home. We have taken the dreaming out of making your own herbal products and made it a reality for you – all while teaching you the many ways that herbs can benefit the skin both inside and out! This wonderful course is run by my friends at Herbal Academy and it is well worth your time to check it out.
Make your own body butter: Easy DIY Whipped Body Butter Recipe
For this you will need:
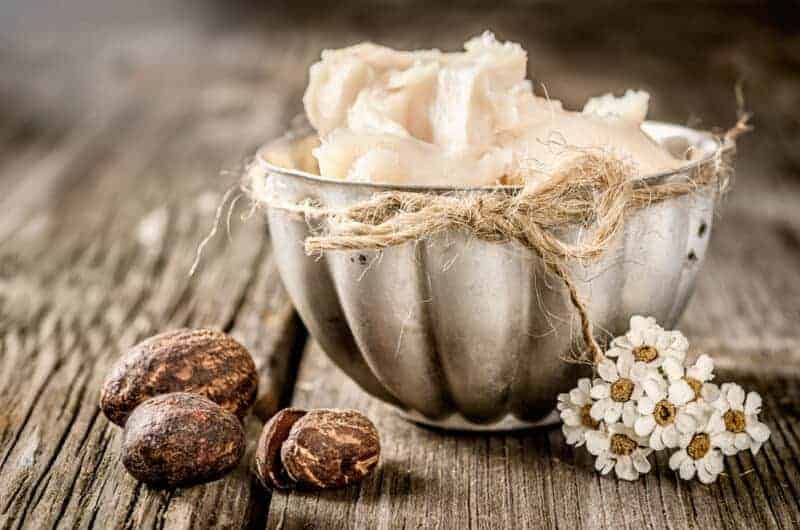
Shea butter, coconut oil, almond oil and (optional) essential oils

![]()

![]()

![]()

![]()
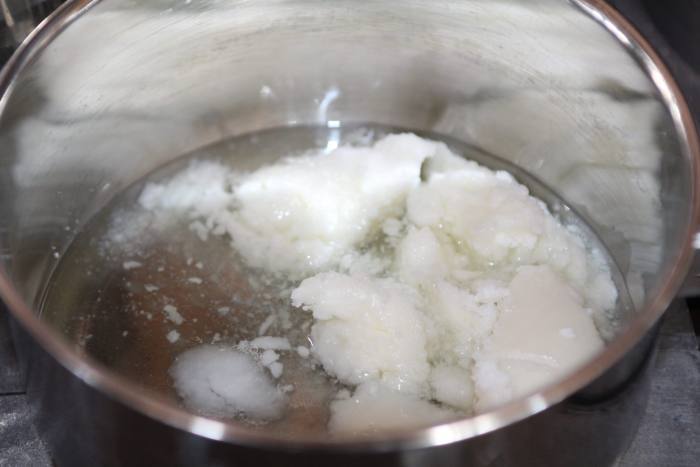
STEP ONE
In a pot melt together 50g/2oz of Shea Butter![]() and 50g/2oz Coconut Oil
and 50g/2oz Coconut Oil![]() . Add 1 Tablespoon of Almond Oil
. Add 1 Tablespoon of Almond Oil![]() or Apricot oil.
or Apricot oil.
STEP TWO
Optional – add 5 drops of your favourite essential oil- I like Lavender![]() . Mix well and put in the fridge to cool until just starting to set around the edges, but the middle is still soft.
. Mix well and put in the fridge to cool until just starting to set around the edges, but the middle is still soft.
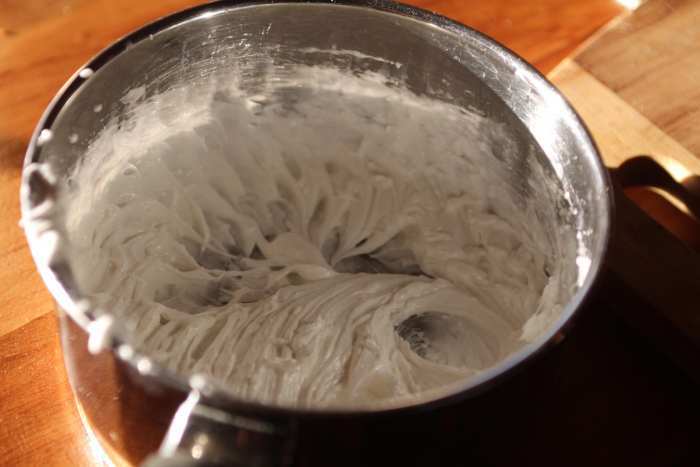
STEP THREE
Whip the mixture with a beater until light and creamy. Don’t eat it, it looks delicious, but it isn’t.
STEP FOUR
Use a scraper and put into a small jar. The whipped body butter will last at least 12 months.
Keep below 25 C/80 F Degrees.
If the body butter melts don’t panic, it is still usable, but it will lose its whipped-ness. You can re-whip it, or just use it as it is anyway.
This whipped body butter recipe is perfect for eczema or other dry skin conditions. Use it liberally 1-6 times per day as required.
As with all new skin care products, test on a little area first and check you don’t react to the ingredients before slathering it everywhere!
Make your own body butter – notes
Make sure that you store it somewhere under 25 Celsius/80 F or it will melt. If it does melt, you can simply re-whip it again, it won’t be ruined, I promise.
Feel free to mess around with different flavor combinations – I like plain lavender, especially as a baby bedtime massage. Orange and vanilla is another great combo!
If you found this recipe useful, be sure to check out the Herbal Academy course on making your own wonderful skincare at home.
Do you make your own body butter? Tell us about it in the comments below!
Please Pin and share with your friends.


