This post was most recently updated on March 18th, 2020
I love the rustic, shabby chic look, and when I get the opportunity to up-cycle something I give it a go.
Please read: This information is provided for educational purposes only and is not intended to treat, diagnose or prevent any disease. We encourage you to make your own health care decisions in partnership with a qualified health care professional.
This post contains affiliate links, this means at no extra cost to you, we make a commission from sales. Please read our Disclosure Statement
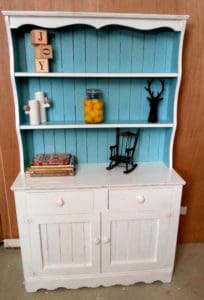
My sister managed to score me a free welsh dresser. FREE. It was in pretty good nick too, a few old borer holes which I treated just in case, but other than that it was relatively tidy.
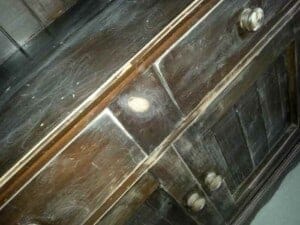
It was however a scuddy 1980’s dark brown and the varnish was pretty scratched up. Functional, but not pretty. And while I aim for functionality, if you can fancy it up some for free (or minimal cost) why wouldn’t you??
RELATED POST: DIY aged shelves
How to achieve the rustic shabby chic look on a dresser.
Step one
DUST – ick! I had to use a damp cloth wipe down my very dusty cabinet to find the scratches and dints that I wanted to fill. Unfortunately I didn’t take a photo before I started. Well, that’s not totally true, I tried, but the camera is broken, so we are stuck with phone photos for now – sorry!
Step two
Fill any major scratches with wood filler that detract from the overall look you are going for. I just filled the borer holes, I quite like the character the scratches add.
Step three
Sand. I sanded the whole thing with the orbital sander and some 120 grit sand paper. Not enough to remove the varnish, but just enough to rough up the whole surface to help the paint bind.
Step four
Dust again. I hate dusting, but sometimes needs must. You don’t want that dust gritting up your pretty paint now do you?
Step five
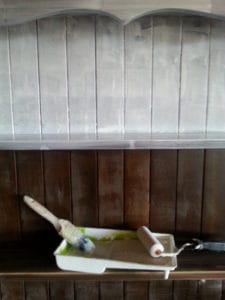
Prime. I never used to bother with primer coats, but turns out they exist for a reason, who knew? They help everything stick to the layer below. I used some stain blocking primer that I had laying around.
Step six
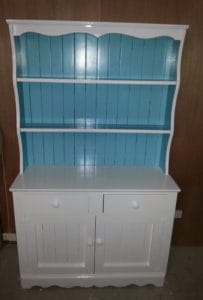
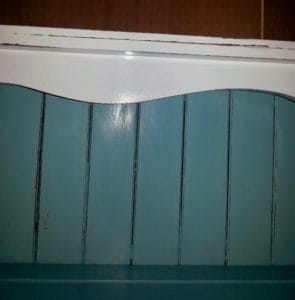
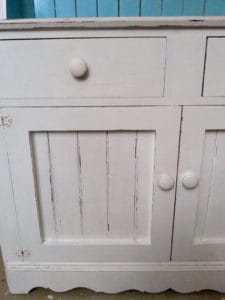
Paint. I had some left over white water-wash enamel paint from the bathroom ceiling and some light blue from painting our bedside cabinets. It is a proper alkeloyd based paint not the “water-enamels” that some companies sell that are really just a hard wearing acrylic. It is extremely hard wearing, but easy to wash up while it is wet. I gave the whole thing two coats over the course of a few evenings.
Step seven
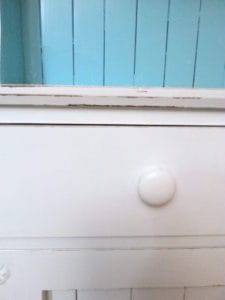
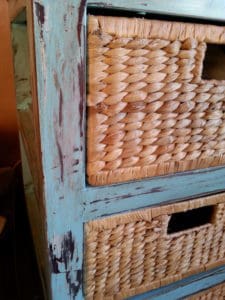
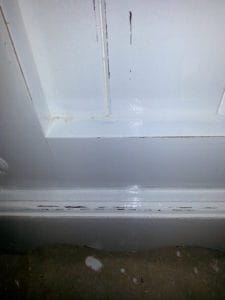
Sand/Scrape. The shabby chic look is all about scraping the paint off again and looking old. You can decide how crazy you want to go with sanding, you can even use a paint scraper on parts like I did on these bedside cabinets. I chose to go more subtle with this dresser, I only did the edges of the details and cupboards/drawers.
Step eight
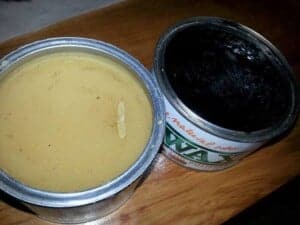
Wax. This helps protect all the exposed wood, it removes a little more paint and tints parts to make them look old.
On the bed side cabinets I used walnut colored wax, but I think on white that would be too dark, but I still wanted some color so I mixed it half and half with some clear wax and just rubbed it on then straight back off to get a subtle effect.
Step nine
Dress and admire!
Beautiful and practical, my favourite combination!

