This post was most recently updated on April 7th, 2020
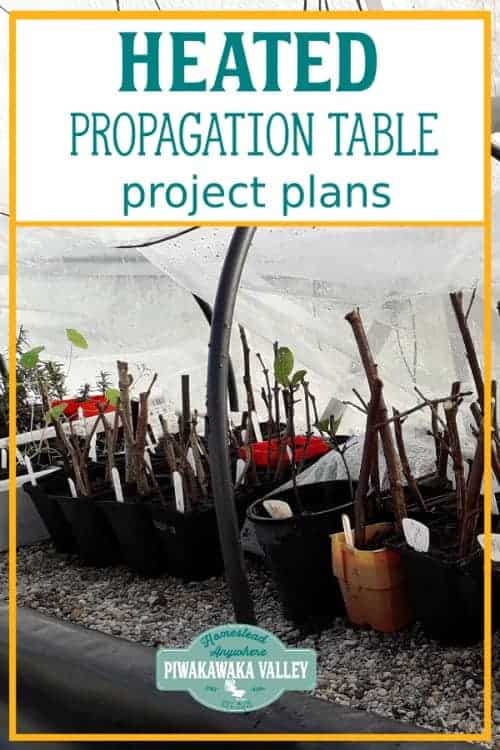
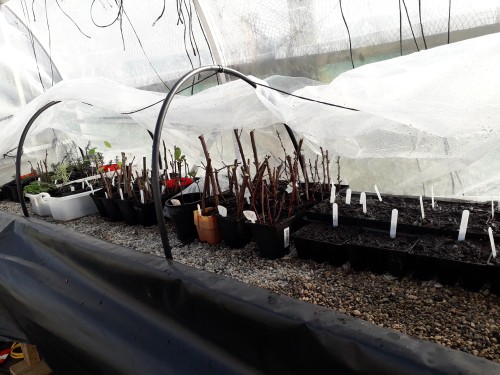
I have never had success propagating my own plants from cuttings. NEVER. They always fail. So this year I decided to build a heated propagation table that would also allow me to use it as a seed raising table, so I could get my tomatoes and peppers started in the mid winter without having to grow them inside the house (YAY!).
Please read: This information is provided for educational purposes only and is not intended to treat, diagnose or prevent any disease. We encourage you to make your own health care decisions in partnership with a qualified health care professional.
This post contains affiliate links, this means at no extra cost to you, we make a commission from sales. Please read our Disclosure Statement
The other thing was this DIY propagation table needed to be cheap and easy to build!
After watching a few videos on youtube I worked out the basic idea, and I started to plan what we were going to use to make this heated seed raising table affordable but effective.
We happened to have inherited a few insulated panels, so the size of our table was decided by the width and length of the panels that we already had.
My overall propagation table is 800mm wide (32 inches) and about 2100mm long (7 feet). As a heating cable, the cheapest (by a long shot!) that I could find covered 3m2 (about 30 square feet) but I have managed to squish it in and make it work.
What you need to build a heated propagation and seed raising table
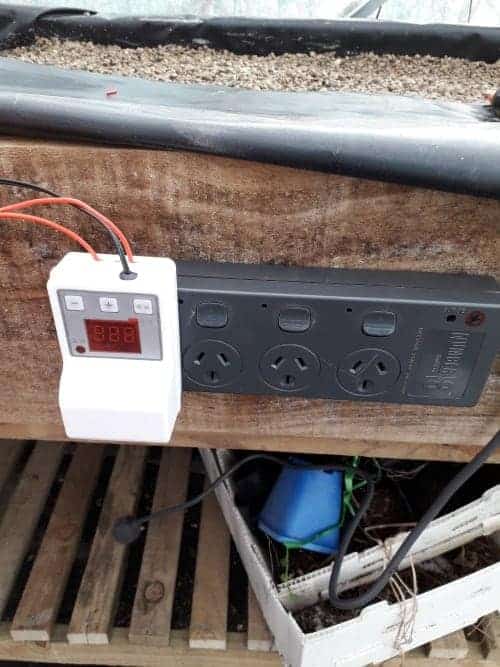
1. Heating cable and a controller
I bought my cable and temperature controller from aliexpress.com – this is the one here. If the link expires, search for “Nursery Bed Heating Wire+Temperature Controller Kit”
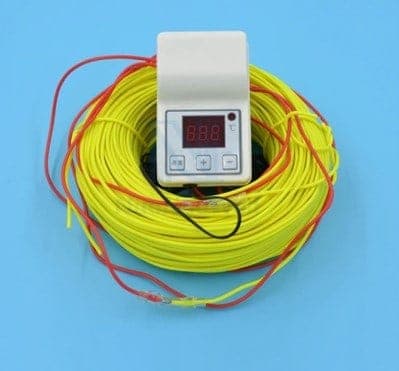
You can also use this thermostat and these wires from Amazon.
RELATED: Grey water system for the garden
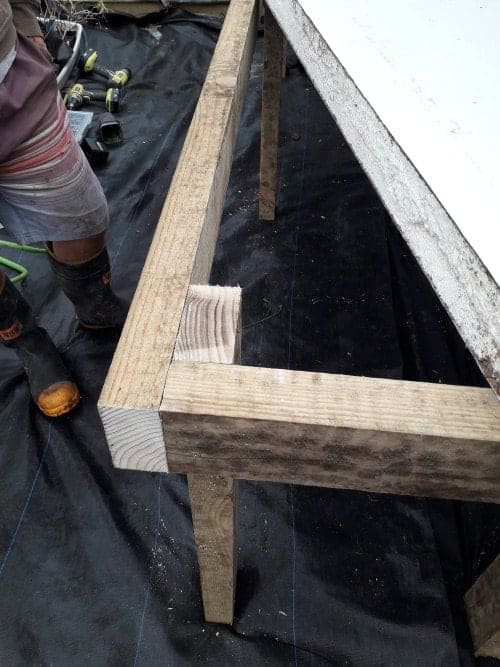
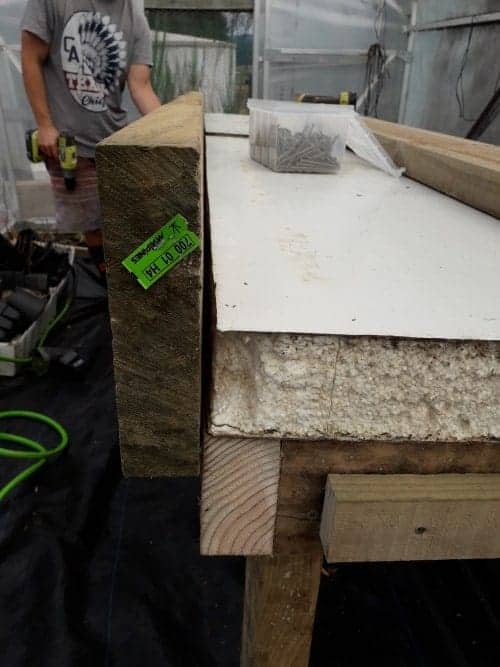
2. Timber for the frame
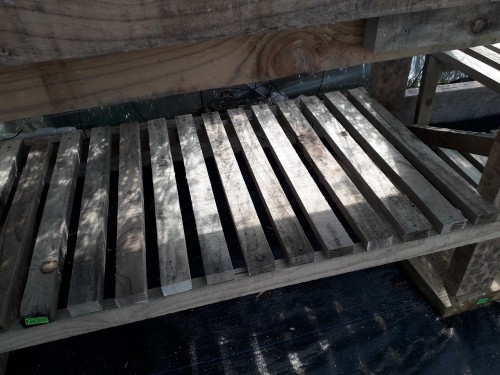
To build my frame and edges to the propagation and seed raising table I used tanalised 50x200mm (2×8 inch) boards and the frame/legs are good old 4 by 2 with some smaller boards as slatting on the bottom shelf (optional, but a great storage space!)
If your insulation boards aren’t structural ones like ours were, you will probably need some marine grade ply wood to go under your foam to hold the weight of the contents of the table.
3. Insulation board
The bottom of the table needs to be insulated with thick insulation board, this ensures the heat stays in the table and isn’t lost out the bottom.
4. Polythene
The tray of the table is lined in black polythene, this is to protect the wood and electrics from the water, as well as to help hold the humidity up.
5. Black hose and hose clips
To use the table as a propagation table or bed, you need to be able to keep the humidity high. To achieve this you create a small hoop house
6. Clear polythene or greenhouse plastic
This goes over the hoops to keep in the heat and the moisture.
7. Screws
You will need to be able to screw the wood together – we used long decking screws that are weather proof.
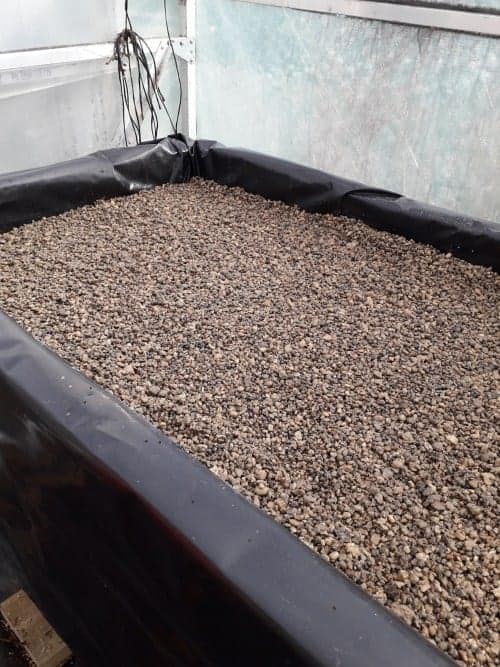
8. Builders sand or small stones
This helps hold down the wires, adds insulation and holds heat
9. Hardware cloth/netting (optional)
We did not use this, but I can see how helpful it would be to attach your heating cables to it, as they keep wanting to coil up and tangle when you lay them out. You can tie them to some wire mesh using cable ties.
RELATED: Propagating Elderberries
Step by step guide to building a propagation table (with pictures)
Step One: Work out your sizes
A good size would be 600×1800 (2×6 ft) for a standard home use – you could make it smaller, but you will have to swap to using a heating pad, or find shorter heating cables.
Step Two: Cut your wood
Make the frame for the base first – make sure you have good supportive legs that are braced well, as the top of this table is going to be heavy!
Step Three: Assemble the woodwork
Using long screws, assemble your table legs and base frame.
We added some smaller pieces of wood to support the big heavy top tray
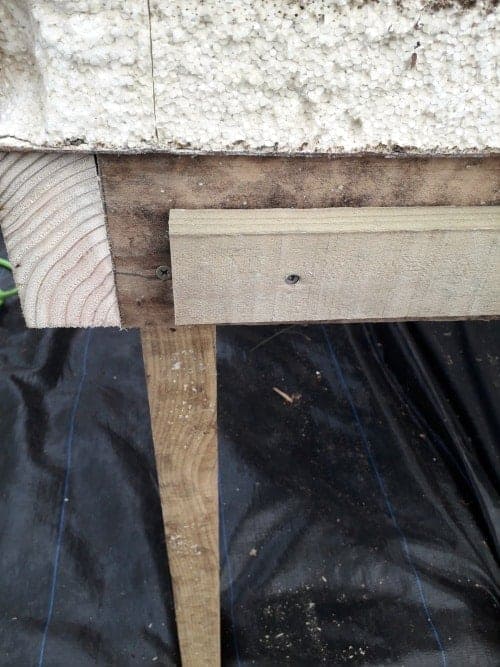
Then we sat the insulation foam board on the top of the frame and built the table box around it
Then we added the shelf along the bottom and some angle bracing on each end to help brace the legs (this is after realising how heavy this was!)
Next we lined the table in black polythene and made sure it draped over the sides to cover the electrical plugs that were to be screwed to the side of the table.
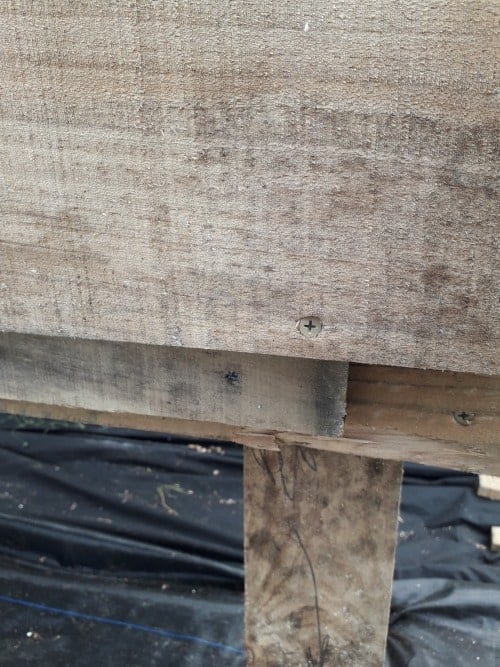
We then drilled three holes through the wood and through the plastic – one for each end of the heating cable, and a higher one for the temperature probe of the thermostat.
Step Four: Add some stones
The heating cable needs to lie between builders sand or small stones, 2 inches either side is a good, safe amount.
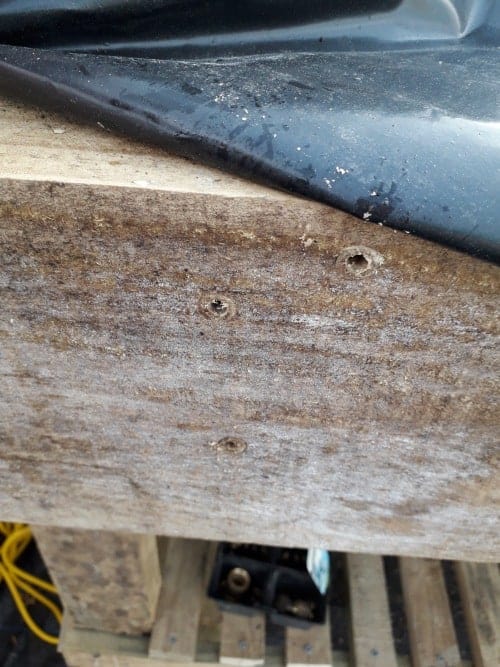
Before we tipped in the pea gravel that we used, I drilled a few small drainage holes in the back corner to let excess water out as I will be watering seedlings most days.
Step Five: Lay out the heating cable
Heating cable has a few rules – the wires should not cross or otherwise touch and they need to curve at the ends not zigzag – try and keep at least an inch all the way around between each passing of the cable, this ensures even heating and protects the cable from being bent.
This is the time that tying the wire to some mesh would have been helpful! We didn’t have mesh, so we made do with piling more pea gravel on it as we lay it out.
Once the cable is laid out where you want it, you top it off with another 2 inches of sand or stones.
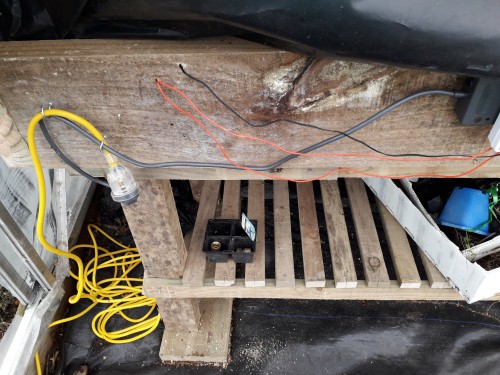
Step Six: hook up the electrics
If you have the heating cable and controller that we used, make sure that you don’t pinch the plastic coating of the wire in the metal electrical contacts on the thermostat, otherwise the heating cable won’t heat.
Turns out that is what hubby did, and for 2 days we couldn’t work out why the table wouldn’t heat up!
Make sure that your thermostat wire is sitting on the top layer of the sand/stones, so it measures the temperature that the soil is getting, not how hot the cable is.
Step Seven: Make a hoop house
Using lengths of black poly pipe and some hose clips, create a hoop structure and throw some clear poly over the top.
I found tying some string that was secured at one end up and around the tops of each arc then securing it at the frame at the other end after pulling it tight really helped stop the hoops wobbling.

Set your thermostat at about 30C (85F) and give the stones a light watering to get the humidity up. After heating for 24 hours, your heated propagation table and seed raising bed is ready to use!