This post was most recently updated on January 26th, 2021
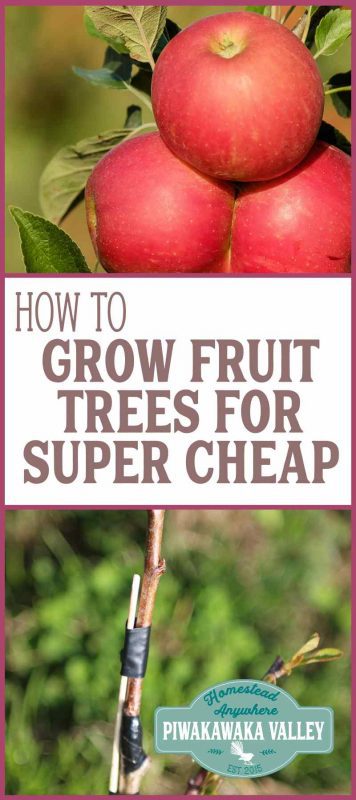
Grafting fruit trees at home is a great way to get affordable fruit trees on a budget. You can learn to graft fruit trees by following this easy step by step guide to grafting fruit trees at home. This video shows how to graft apple trees, but other fruit can be grafted the same way.
Please read: This information is provided for educational purposes only and is not intended to treat, diagnose or prevent any disease. We encourage you to make your own health care decisions in partnership with a qualified health care professional.
This post contains affiliate links, this means at no extra cost to you, we make a commission from sales. Please read our Disclosure Statement
So I decided to give tree grafting a try. We want to have lots of fruit trees as the basis of a food forest on our property. We have an area between 1/4-1/2 an acre to cover. Grafting fruit trees ourselves will literally save us thousands of dollars.
Why grafting fruit trees is a good idea
Fruit trees from most nurseries vary in price from $30-60 each depending on variety/size/store. We are thinking we want around 80 trees. That is between $2400 and $4800! I don’t have that kind of money!! So I looked into grafting fruit trees ourselves.
Grafting fruit trees ourselves means we have to wait a couple more years for fruit. But it also means I can do it for around $6/tree.
This is except for the pears because they need to be inter-stocked with a different type before being grafted. They are around $12 each as they are already grafted with the inter-stock variety and are HUGE when you get them.
What trees did we order to graft?
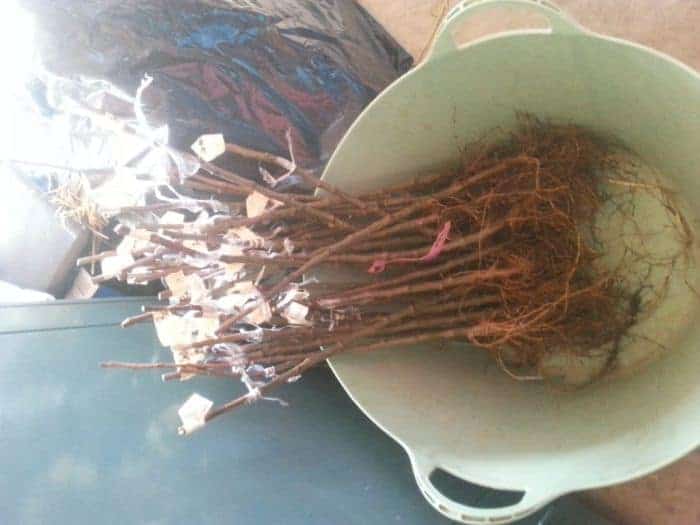
I ordered 100 trees – 40 apples, 20 inter-stocked pears, 30 peaches (to grow plums, nectarines, apricots and obviously peaches) and 10 quinces.
You can use quince to grow some apples and some pears, but I actually want to grow quince from them. This cost me $471.56 plus postage and packaging of around $70.
I also spent around $70 on getting scion wood from a few nurseries and will get some free stuff from friends and family as well.
We are expecting that 80/100 trees will successfully take and survive. This works out to be less than $8 per tree on average (we have bought 20 of the expensive pears, otherwise it would be closer to $4!).
Important Grafting Terms
Scion: a piece of last year’s new growth with three or four buds on it
Understock: the part of the tree below the graft
Rootstock: the part that becomes the root of a tree
Cambium: the part of the tree beneath the bark that carries nutrients and water through the tree
Top working: grafting onto the top of an established tree
Dormant: live trees at rest during the winter
Getting your Scion Wood for Grafting Fruit Trees
Scions are the pieces of wood with three or four buds on them that will be grafted onto the rootstock.
One of the easiest and cheapest ways to get scion wood for grafting is to ask neighbors and friends for cuttings off their wonderful trees.
You will want to cut your scion wood when the trees are dormant in the winter or very early spring before the sap has started to run. Cut pieces about 4-8mm thick and 20cm long from new growth.
Storing Scion Wood for Grafting Fruit Trees
Scion wood is easy to store. Simply wrap it in just damp (not wet) paper toweling, then put them in a plastic bag and place the bundle in the back of your refrigerator. These will store three to four months and still be good for grafting. Do not store them in the freezer.
Be sure to label which type of tree each scion is from. I find a permanent marker on masking tape works well.
The scion and rootstock do need to be the same type of fruit tree. You cannot graft a pear scion on an apple tree, for example.
Though there are some tricky things you can do – plums, apricots, almonds, nectarines, and peaches can all grow on either peach or plum rootstock at they are all related. But they do work best on their own type. OR you can grow stone fruit true-to-type from the stones in the fruit.
Importance of Types Rootstock for Fruit Trees
Rootstock is the bottom part of a grafted or to-be-grafted tree, usually a small tree the size of your finger or smaller. It is important to choose rootstock that has the characteristics you desire in the adult tree.
If you want a super-hardy tree able to survive sub-zero winters, you must choose super-hardy rootstock that can withstand such low temperatures. If you have clay soil or boggy soil, there are rootstock to suit that too.
The rootstock also determines the ultimate size of the tree.
You can graft onto standard, dwarf, or semi-dwarf rootstock and have the resultant tree remain that size, regardless of the scion wood you have used. Ask the nursery you are getting the rootstock for their suggestions.
When to Graft Fruit Trees
It is best to graft in the spring when the buds of the rootstock are just starting to open. You can graft until blossom time, however.
How to Graft Your Own Fruit Trees
Once you receive your rootstock and you have your scion wood at the ready and it is springtime it is time to graft!
There are lots of ways of cutting and slitting grafts, all of them take some skill and practice to perfect. I decided to get one of these grafting gadgets. 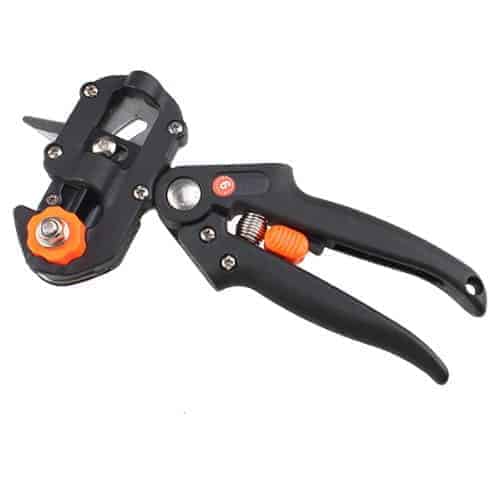
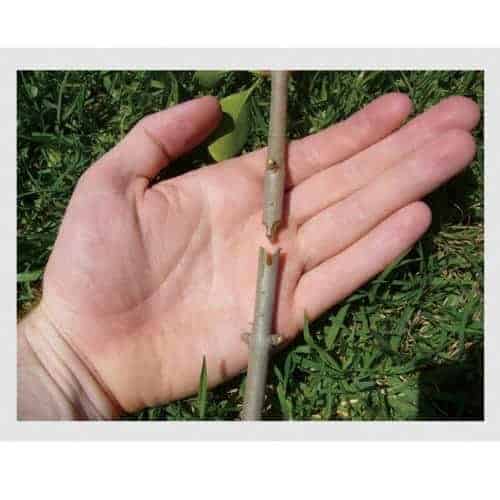
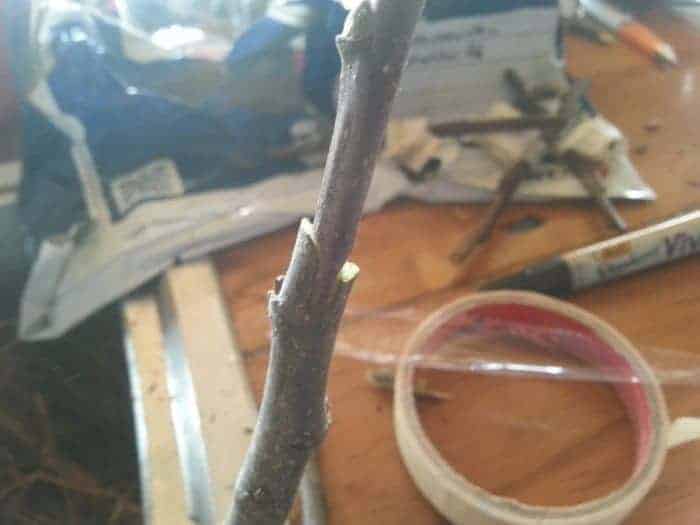
For each tree, choose a rootstock and a scion that has 2-4 buds on it. Cut the bottom of the scion and the top of the rootstock to match.
Line up the cambium (the green stuff just under the bark) on at least one side. This is where the sap runs, you need the sap to run up to the scion wood to allow it to live.
Sap is to trees as blood is to humans, no sap, no life.
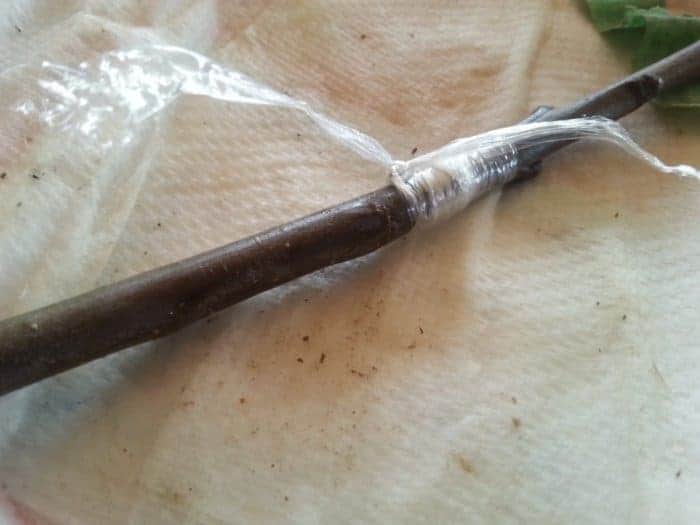
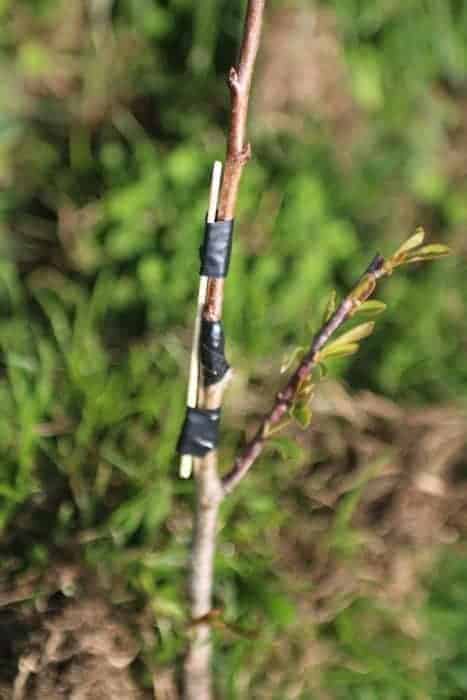
Wrap the graft immediately.
The gadget I bought for grafting fruit trees came with grafting tape, which is just a fancy name for a skinny roll of clingfilm! It needs to hold it in place, keep germs and rain out and be able to removed at the end of summer.
Electrician’s tape may also be used to bind the two pieces together. The good brands will stick to themselves and last through the first Summer when they are no longer needed.
*At this point you may like to splint your graft with an iceblock stick if they are likely to contend with high winds or annoying chickens/animals/children. I found I lost many successful grafts to the wind while the scar tissue was healing.
Label your trees and plant them either in-situ or in planter bags to plant out later. You can get nifty copper tags that will last forever outside. I gave mine a good soak in some seaweed solution first.
Reasons for Graft Failure when Grafting Fruit Trees
There are several reasons for graft failure. These are the most common:
The stock and the scion were not compatible.
The cambiums did not meet properly.
The scion was upside down.
The graft was done at the wrong time of the year.
Either the scion or the rootstock was not healthy.
The scions were dried out or injured by cold.
The scions were not dormant when grafted.
The graft was not properly covered.
The scion was displaced by some means – my biggest issue!
The graft was too shaded by other growth to grow.
The graft was attacked by insects or disease.
The graft union was girdled because the tape was left on too long.
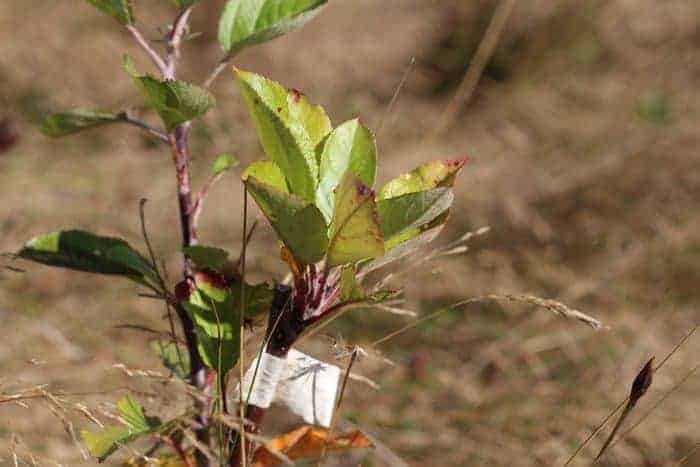
*Update: I visited my trees this week, 6 months from when they were grafted. Many have taken, the ones that didn’t most had been bumped loose by either wind, chickens or children. So I have ordered some more scion wood to try them again.
If you like tips on frugal living, self sufficiency and consuming less, sign up to our newsletter below, I would LOVE to have you!
Have you attempted grafting fruit trees? What was your experience?
If you would like help getting the most out of your garden, I would love to help you, find out more here
RELATED: Free Gardening Resources
If you like tips on frugal living, self sufficiency and consuming less, sign up to our newsletter below, I would LOVE to have you
For further reading, I also recommend all of these books. I own every one of them and they are amazing resources!
Please Pin and Share with your friends and family!








Use a knife! That grafting tool is peice of crap!
I actually found it very easy to use. I tried a knife and was worried I would cut my fingers off haha. I think for a first timer, this takes the worry out ‘doing it wrong’. Once you have a feel for how it is supposed to go, you may find a knife easier I suppose.