This post was most recently updated on September 15th, 2020
Summer around here brings an over abundance of plums. These wonderful stone fruit grow locally and you can often get bags of them for free. What can you do with too many plums? Preserve them of course!
Please read: This information is provided for educational purposes only and is not intended to treat, diagnose or prevent any disease. We encourage you to make your own health care decisions in partnership with a qualified health care professional.
This post contains affiliate links, this means at no extra cost to you, we make a commission from sales. Please read our Disclosure Statement
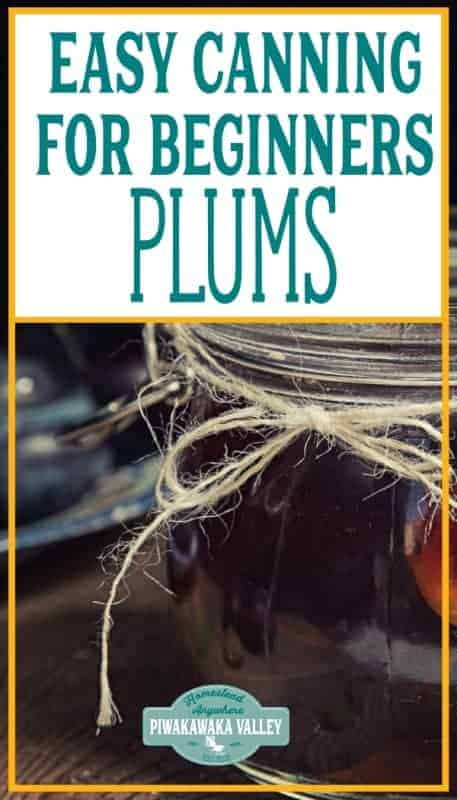
Bottled plums also known as canned plums are very easy to do, a perfect project for beginner canners. Use the instructions below to learn how to preserve fruit in jars quickly and easily.
Choosing fruit to make bottled plums
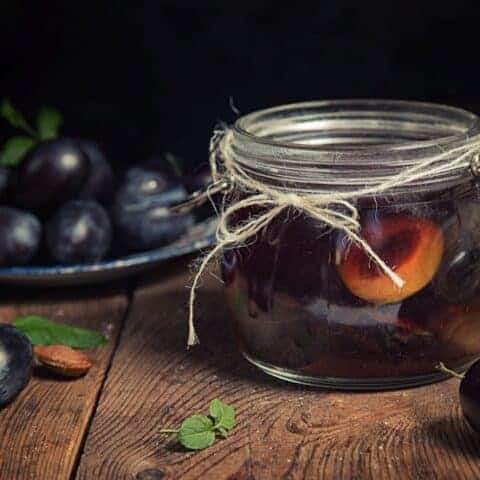
Choose ripe but still firm fruit, cut off any bruises or rotten/overripe patches.
All types of plums can be canned, but the red varieties look particularly stunning in glass jars or bottles.
What you need to can plums safely at home
You will need plums (obviously)
Some canning bottles or jars – these are the ones made specifically for preserving fruit at home in. They usually have a two part lid consisting of a seal (the flat metal bit) and a band (the ring)
A large pot or a water bath pot
A rack to keep the jars off the bottom of the pot so they don’t explode
A jar lifter so you don’t burn your fingers!
A canning funnel is not totally required, but it does make things MUCH easier!
Canned plums: Beginner canning recipes for bottled plums
Super easy water bath canning method for preserving plums in bottles or glass jars. Step by step instructions for beginners.
Ingredients
- 20 lb plums, 10kg
- 4 quarts Water, 4 liters
- 4 cups White Sugar
- 10 new lids for preserving jars
- 10 1 quart/1liter preserving jars
Instructions
Chop up your fruit. Plums are easiest done if you cut right around the fruit (top to bottom then right around to the top again) then cup the fruit in both hands and twist them apart. Remove the stones and any bruises and set aside to make vinegar.
In a very big pot place the water and sugar and bring it to the boil.
Heat your oven to 200F/100C. Place your clean dry jars in to heat on a tray or in a dish for 10-12 minutes (no longer or they will crack). When you remove the jars from the oven bring the tray and everything. This makes it easier to move them and reduces the cold shock.
While your jars are heating carefully add all your plums to the boiling syrup and cook for 10-15 minutes until JUST soft.
Put 4 inches / 10cm water in to the bottom of your water bath, with the rack in the bottom. Heat to a simmer.
Working one jar at a time fill to the jar's shoulders with fruit - I like to scoop it out with a slotted spoon.
Fill the jars with syrup leaving a 1cm / .5 inch gap at the top. Keep the pot on a low simmer while you jar up all your fruit.
Run a knife down the inside edge of the jar all the way around to release the bubbles.
Top up with more syrup so that the jar is filled up to 1cm / .5 inch from the top.
Wipe the rim with a clean dry cloth. Place a clean lid and ring on the jar and screw to "finger tip tight" which is as firm as your can tighten it with using just your fingers.
Place the jars carefully in to your water bath, ensure the water is at least 1 inch above the lid of the last jar added to the pot.
Simmer the pot uncovered for 20 minutes, and then carefully lift out the jars and set aside on a folded towel to cool
Once the jars are totally cool you can label them and remove the ring to check if they have sealed properly. Any jars that haven't sealed will need to go in the fridge and be used within the week.
You can leave the rings off of the jars. Store at room temperature for up to 2 years. Discard any that develop bulging lids or look or smell wrong (none of these things should happen if you are careful with your sterilisation).
I love the Ball canning book recipes and instructions combined with my own canners recipe book.

![]()