This post was most recently updated on January 26th, 2021
Chewy and slightly tangy, who doesn’t like a warm slice of sourdough bread? I bet you didn’t realize just how easy it is to make either.
Please read: This information is provided for educational purposes only and is not intended to treat, diagnose or prevent any disease. We encourage you to make your own health care decisions in partnership with a qualified health care professional.
This post contains affiliate links, this means at no extra cost to you, we make a commission from sales. Please read our Disclosure Statement
The bonus to sprouting/fermenting/souring grains – or anything for that matter – is that with the bacteria activity the end product is higher in protein, has a probiotic effect and it has a lot more bioavailable vitamins and minerals. Souring wheat also starts breaking down gluten, which makes it better tolerated for those that struggle with gluten sensitivity (2).
RELATED: sourdough easter buns
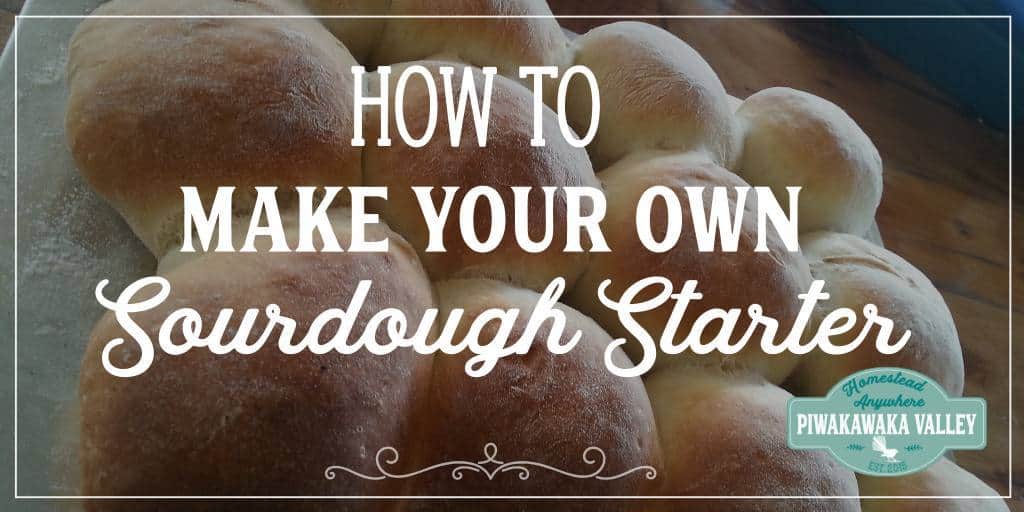
How to make your own Chewy Sourdough Bread
As you will see below this whole process, from mixing the initial dough to baking the bread, is a long, slow, drawn-out affair. You can do it in a day if you’re at home, which is usually what I do, or you can spread the process out over a few days.
There are a few moments in the recipe where you can pause and put the dough or the shaped loaves in the fridge overnight.
This time in the fridge actually helps develop the flavors in the dough even more, which if you like the sour flavor is a good thing, my fussy kids prefer it made all in one day.
Chewy Sourdough Bread Recipe
Ingredients
For the leaven:
1 tablespoon active sourdough starter
75 grams (1/2 cup) all-purpose flour or bread flour
75 grams (1/3 cup) water
For the dough:
1 tablespoon salt
625 grams (2 1/2 cups) water (you may need an extra half cup)
700 grams (5 cups) bread flour
The sourdough starter
To make sourdough you will need a sourdough starter. Read here to find out how to make your own sourdough starter at home. Otherwise you can buy a starter culture from a few places online, just ask Google.
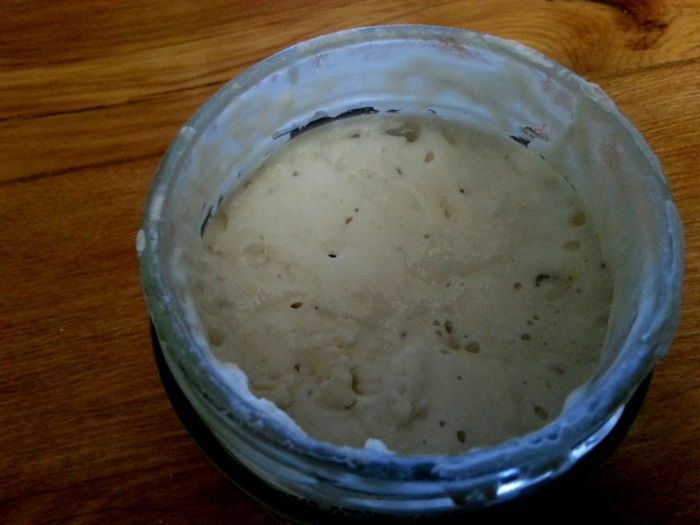
The Leaven
Once you have a nice active starter, the night before you want to make bread add 1/2 C flour and 1/3 C of water to your starter and leave it on the counter top- by the morning you should have pretty close to one cup of active leaven aka “some nice active starter”.
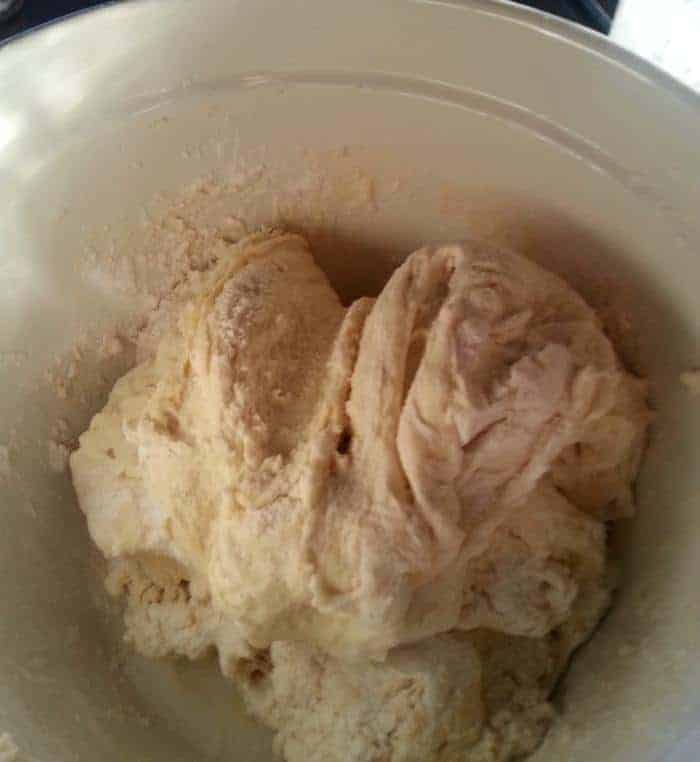
The Autolyse stage
Mix the leaven with the second measure of flour and water, let it sit for at least 30 minutes or for up to four hours.
During this time, the flour absorbs the water and becomes fully hydrated, which helps gluten formation during the next step.
Enzymes in the flour also start to break down the starches into simpler sugars, which become food for the yeast and bacteria in the leaven and also make the bread more flavorful.
The stretching stage
After the resting step, mix in the salt. Salt is necessary for a flavorful bread, but can inhibit the activity during the autolyse step. During this phase you can do the stretching which replaces the kneading of more well known recipes.
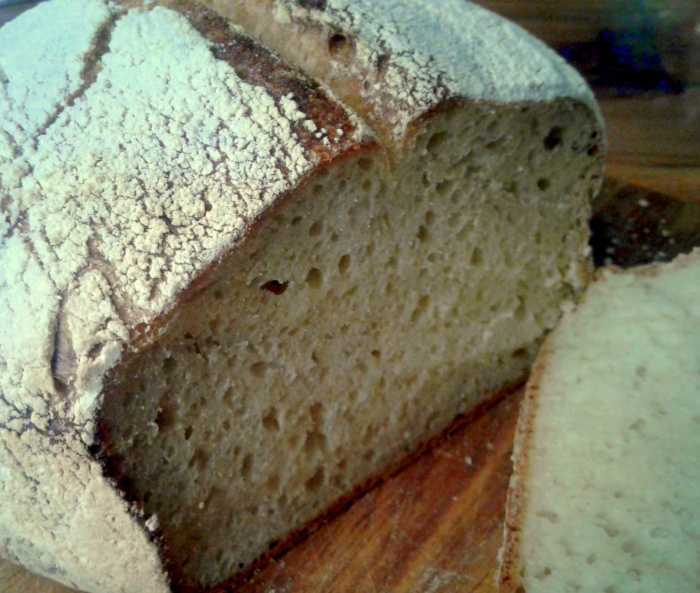
Stretching is not only less labor intensive, but it also gives the crumb of the finished bread a better structure and a nicer network of holes (which are a good thing in the artisan bread world!). It is quite simple really, you grasp one side of the dough, pull it up and fold it over the top of the dough, and work your way round the bowl in 1/4 turns.
Leave the dough to rest for 30-60 minutes and repeat 2-3 times. Sometimes I only do this once, and to be honest, it works just fine. Overall this stage lasts around 2-3 hours.

The Proofing stage
Proofing baskets support the shaped loaves during their final rise before baking. I use a proofing basket which came with a cotton lining, but you can just use a tea towel lined bowl.
I got my proofing basket for about $15. In either case coat it generously with flour. Use your fingers to rub the flour into the cloth — this is what will keep the dough from sticking.

Shape your dough into a nice round, dust in more flour and place into your well floured basket/bowl and sit in a nice warm place for 4-6 hours.
Alternatively, place the covered basket in the refrigerator and let them rise slowly overnight, 12 to 15 hours. If rising overnight, bake the loaves straight from the fridge; no need to warm them before baking.

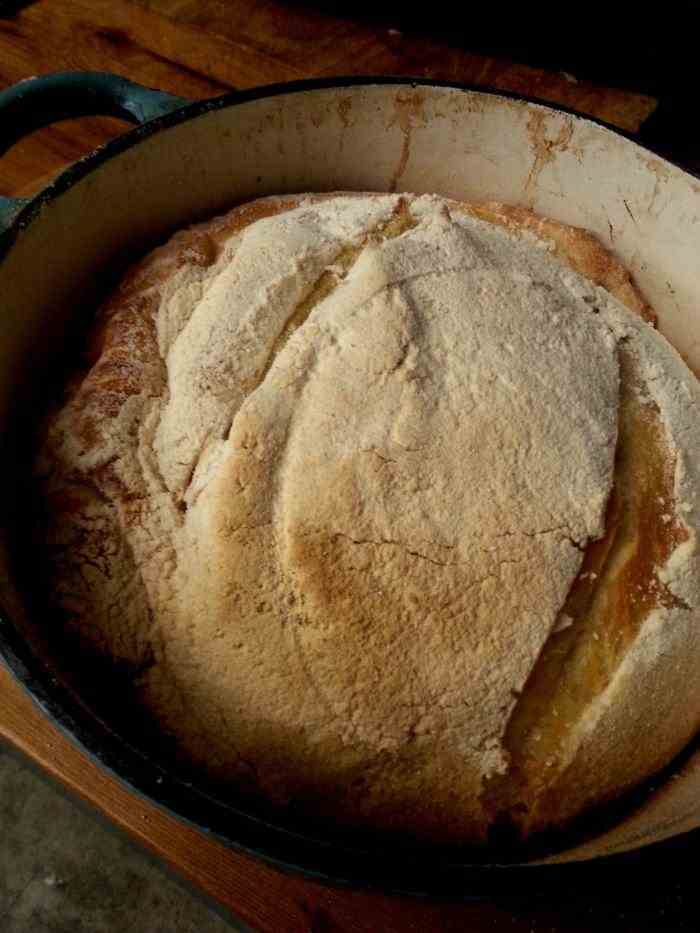
Baking sourdough in a casserole dish or dutch oven
You need a moist, humid environment during the first few minutes of baking to get a good rise from the dough and to develop the crust, but making that happen in home ovens is tricky and imperfect.
In industrial ovens they have a steam injection function, lucky! Dutch ovens solve the problem for us home bakers, they trap the moisture evaporating from the bread and create its own steamy environment.
Once the initial baking phase is over, you uncover the pot to release the excess steam and let the bread continue baking.
If you don’t have a heavy casserole dish/ dutch oven, you can use any heavy pot with a lid, like a soup pot or even a large saucepan.
Preheat your oven to 220C/410F, with your pot/dutch oven in there to preheat as well. Temperature in the woodfired stove is a bit more difficult to control, but just make sure it is nice and hot.
Once you are ready to bake, pull your pot out and grease it well with butter/lard/oil and carefully slop your risen loaf into it.
Slash the top with a sharp knife. Place the lid on the pot and put it in your oven and set your timer for 30 minutes.
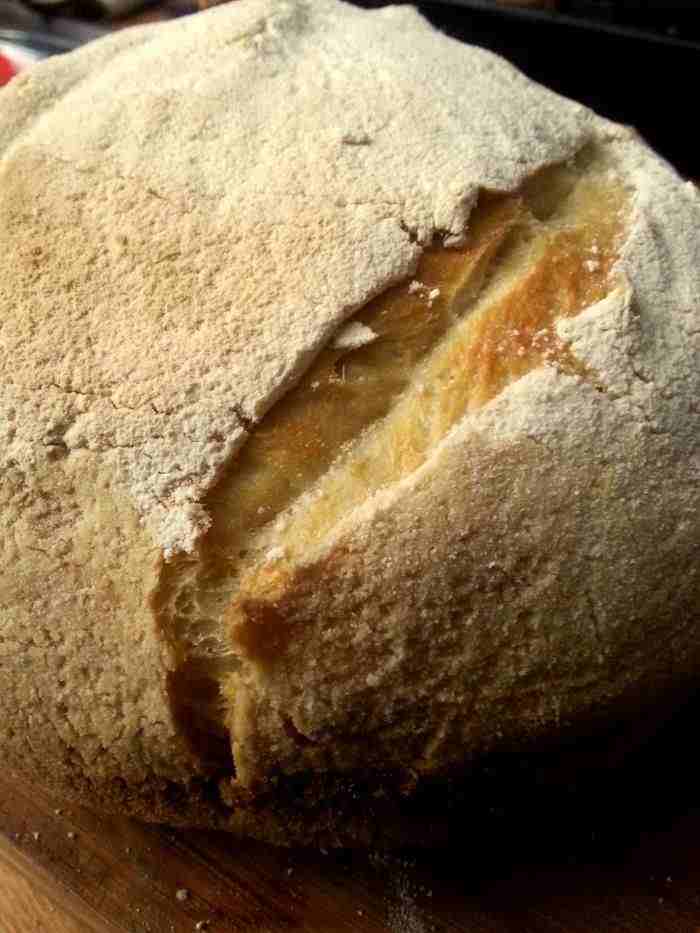
Reduce the temperature to 200C/380F. Open the oven, remove the pot’s lid and re-set the timer for a further 25-30 minutes.
Once the timer goes off again, remove your bread from the oven and tip out on to a rack, the bottom should sound hollow when tapped and it should look lovely and golden.
The old fashioned non timed way is when the bread smells cooked, give it a further 10 minutes and it will be done, this technique always worked for me when altering recipes.
Notes on making chewy sourdough bread at home
Whole-wheat sourdough:
You can replace up to half of the all-purpose flour with whole-wheat or whole-grain flour. Well, you can replace all of it if you like, but it will be quite a dense, heavy loaf.
All-purpose vs. bread flour:
Bread flour will give your bread a sturdier, chewier texture and a loaf that’s easier to slice. Loaves made with all-purpose flour still work just fine if that is all you have.
If your loaf sticks to the proofing basket:
This still happens to me all the time! If some of the dough stays stuck to the lining of the proofing basket, just pinch it away with your fingers. Fold a pinch of dough over the tear and bake as usual. The crust will look a little rough but the bread will still taste delicious.
Do you want to know all our sourdough secrets?? We have compiled it all into one fantastic, informative book. Check it out here
Do you make your own Sourdough? What is your fave recipe? Tell us in the comments below.
If you like tips on frugal living, self sufficiency and consuming less, sign up to our newsletter below, I would LOVE to have you!
Please Pin and Share with your Friends!