This post was most recently updated on May 11th, 2021
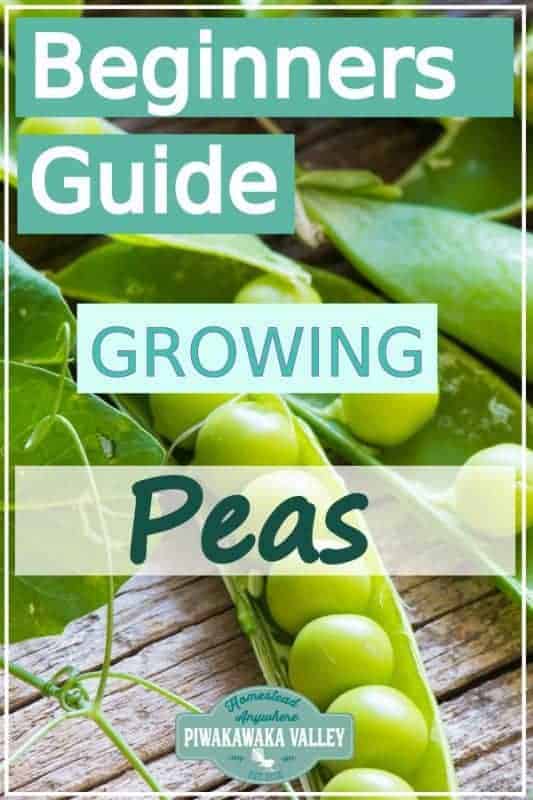
When you are growing a vegetable garden as a beginner gardener, growing peas is one of the best things that you can do. In this beginners guide to growing peas, you will be enjoying a harvest of fresh peas in no time!
Please read: This information is provided for educational purposes only and is not intended to treat, diagnose or prevent any disease. We encourage you to make your own health care decisions in partnership with a qualified health care professional.
This post contains affiliate links, this means at no extra cost to you, we make a commission from sales. Please read our Disclosure Statement
Peas were one of the first crops to be cultivated by man. The wild pea was endemic to the Mediterranean region and early signs of the plant were also found in the Middle East.
The pea plant was largely distributed across Europe and then introduced to the new Western World through colonization.
These early beginnings make the pea one of the easiest crops to grow and following this step-by-step guide will provide even the most amateur gardener with the skills to successfully grow peas.
RELATED: How to grow amazing beans
Step 1 – Choosing Your Pea Plant Variety
Over the centuries of cultivating the pea, many different varieties have become available such as the sugar snap, snow pea and regular garden or English pea. These are the 3 main varieties to choose from.
The English Pea
The English or garden variety is the pea that we are most familiar with.
Also called shelling peas, the fibrous shell is not edible and only the seeds inside the pod are used for consumption.
The snow pea
The snow pea (also called mangetout or Chinese peas) are grown for their edible pod and are harvested early before the peas have time to fill out.
Sugar snap peas
Sugar snap peas on the other hand have an edible pod and pea and are hardier than the garden variety and probably the easiest to grow.
Your choice of plant will depend mainly on personal preference and how you plan to use your produce.
RELATED: How to plan your garden right
Step 2 – Choosing A Location for Growing Peas
Peas are hardy and can be grown in just about any climate however the plants do prefer partial to full sun exposure. Loamy soil with a neutral pH is also preferable.
If you are new to gardening, or want some support and knowledge getting a garden started, let me help!
Step 3 – Choose A Time To Plant your Peas
The best time of year to plant seeds is when the soil has just begun to thaw and is still cool but not too wet. Seedlings can be planted a little later when the soil is easier to manage.
Step 4 – Growing Peas from Seedlings
Seedlings can be grown from seed in containers and then transferred directly into the soil of your chosen location. They take about 6 weeks from sowing to time to transplant out.
RELATED: how to grow from seed (with video)
Step 5 – Planting Peas
Ideally, seeds should be sown about 1 inch deep into the soil and spaced around 2 inches apart to make room for the growth of each individual plant.
Seedlings can be planted at the same depth and spacing. Peas are best planted in rows that are placed a minimum of 16 inches apart.
Step 6 – Staking Peas
Peas are climbing plants and will do best if they are provided with a platform or trellis that their tendrils can attach to, allowing it to climb upwards.
Stakes placed a few inches behind the plants and joined with lengths of string make the ideal climbing support for the pea plant. Fencing or chicken wire are also good support platforms for the pea plants.
Step 7 – Caring For Pea Plants
Peas plants do not require much watering or fertilizer.
In fact, they can be particularly sensitive to fertilizer that has a high nitrogen content as well as to over-watering.
Manure or bone meal which has higher concentration of phosphorous and potassium are more suitable to feed the plants. The spring rains should provide sufficient water for the plants so water sparsely.
RELATED: how to water the garden the right way
Step 8 – When To Harvest Peas
Pea plants mature relatively quickly and you should be prepared to harvest within about 50 days of planting.
However, it is recommended to check the peas to determine when they should be plucked.
Garden variety peas will have filled out their shells fully and be easy to shell.
Snow peas are ready a little earlier and should be harvested while the skins are translucent in the sunlight.
Sugar snaps may also be ready to harvest a little earlier than your common garden variety peas.
Step 9 – Pests And Diseases
It is important to be aware of the pests and diseases that can affect the pea plant such as aphids and Fusarium Wilt.
Your local nursery can provide you with the best means to prevent and rid your crop of these pests.
Step 10 – Storage And Preparation of Peas
Garden variety peas should be shelled before storage or preparation for eating. The other varieties can be stored as is.
Eating the peas fresh from the garden is ideal but blanching and freezing is also recommended. The peas can also be dehydrated.
Growing peas in containers
Peas can also be successfully grown in pots following the same guidelines as above and ensuring that a trellis is provided for them to climb up. They will however need watered, especially while they are growing pods.
If you would like help getting the most out of your garden, I would love to help you, find out more here
RELATED: Free Gardening Resources
If you like tips on frugal living, self sufficiency and consuming less, sign up to our newsletter below, I would LOVE to have you
For further reading, I also recommend all of these books. I own every one of them and they are amazing resources!


