This post was most recently updated on September 15th, 2020
Whether you hunt, raise livestock, or just love trying new recipes, you’ve gotta give jerky a try if you haven’t before! While it takes a bit of time, it’s surprisingly simple and delicious. Making jerky is also a great way to preserve meat, and you can customize the flavor to your liking. These easy recipes for beef jerky will have your tastebuds singing.
Please read: This information is provided for educational purposes only and is not intended to treat, diagnose or prevent any disease. We encourage you to make your own health care decisions in partnership with a qualified health care professional.
This post contains affiliate links, this means at no extra cost to you, we make a commission from sales. Please read our Disclosure Statement
You can make beef or deer jerky without a dehydrator. You can make jerky with the oven, a dehydrator or a smoker.
In this article I’ll take you through the whole process of making jerky at home, from start to finish, so let’s jump in!
Today’s post is written by Tim Nelson, who writes over at BBQ Smarts.
Tim is a barbecue enthusiast from northwest Ohio. He loves to write recipes, gear reviews, and in-depth tutorials on smoking and grilling meats. Check out his site and follow him on Pinterest.
What Cut of Meat is Best for Jerky?
The main thing to keep in mind when choosing meat for jerky is that you’ll want something lean. Fat will spoil, so avoid cuts with a lot of marbling.
If you’re making jerky from beef, cuts from the rear leg, like top round, work well. Another common choice is flank steak, which is great if you like thin strips of jerky.
Deer as a whole is very lean, so almost any part works for jerky. However just like with beef, muscles from the hind quarter are commonly used.
You can even use ground meat, but you’ll need a jerky gun. Some people prefer this method because it allows for the creation of perfectly consistent pieces. Personally, I prefer the artisan look of slices.
How to Slice Meat to Make Jerky
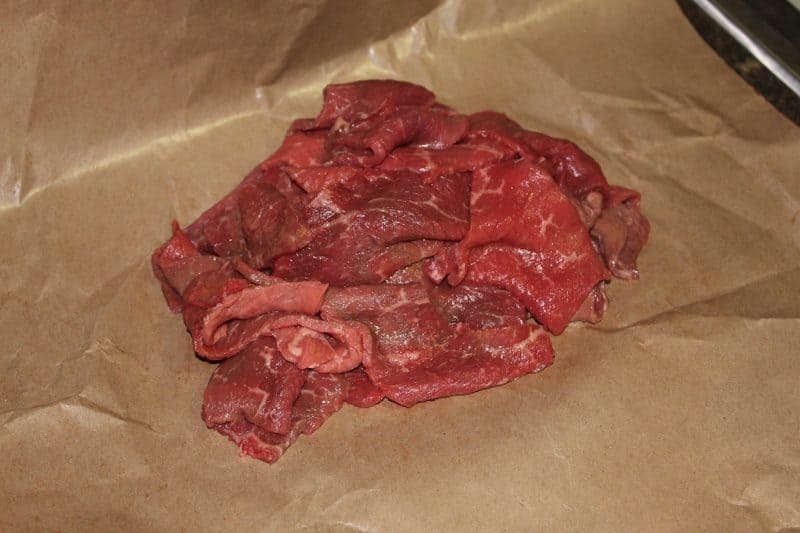
After you have your meat, you’ll want to cut it into 1/8” to 1/4” slices.
If you’re buying meat specifically for jerky, definitely ask your butcher to slice it up for you. If that’s not possible, a good trick is to throw your meat in the freezer for a little while before slicing.
You’ll want it firm but not completely frozen – this could mean 15-30 minutes in the freezer for a thin cut like flank steak, or up to a couple hours for a larger chunk of meat.
Don’t worry too much about the final shape of your jerky pieces at this stage. It’s super easy to cut up your finished jerky into strips or bite-sized pieces with scissors.
A Traditional Jerky Recipe for Beef or Venison
Once your meat is sliced and ready to go, it’s time to get it marinating. Below is a standard (but not bland!) recipe that works for beef or venison.
If you spend some time looking at jerky recipes, you’ll notice almost all of them use relatively large amounts of Worcestershire and soy sauce as a base.
That combination is so popular because it just plain works, and from there you can add almost any seasoning you want. Just make sure to avoid significant amounts of oil as it won’t evaporate nicely with the rest of the moisture.
Ingredients:
¾ cup Worcestershire sauce
¾ cup soy sauce
2 tablespoons brown sugar
2 teaspoons freshly ground black pepper
1 tablespoon smoked paprika
1 teaspoon garlic powder
1 teaspoon onion powder
(optional) ½ teaspoon Prague Powder #1 curing salt
2 pounds thinly sliced beef or venison
Directions:
- Combine all ingredients except for meat in a bowl or large ziploc bag, and mix thoroughly.
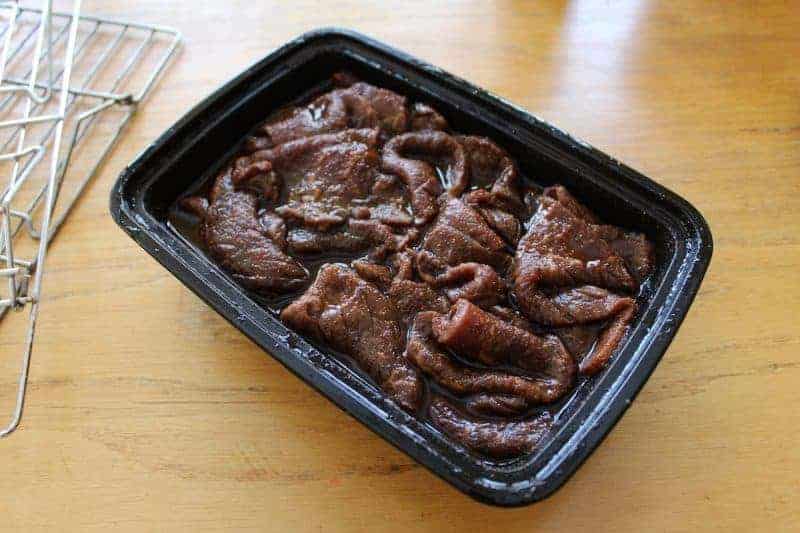
- Add meat slices to marinade, making sure to cover every surface.
- Marinate for at least 3 and up to 24 hours.
- Lay your jerky out on paper towels and pat dry any excess moisture.
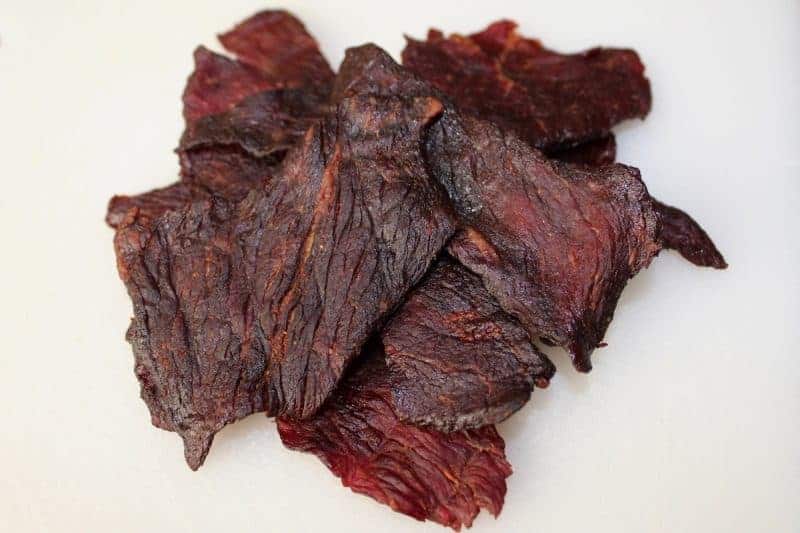
- Finish your jerky in a dehydrator, oven, or smoker by following the instructions below.
Finishing Your Jerky – 3 Options
It’s finally time to finish that jerky! The goal here is to get rid of the vast majority of the moisture. No matter which of the three routes below you follow, be sure to dry off any excess oil on the surface of the jerky when it’s done.
Option #1 – How to Make Jerky in a Dehydrator
If you have a dehydrator, awesome! They are great little machines because they circulate air to help dry out the meat.
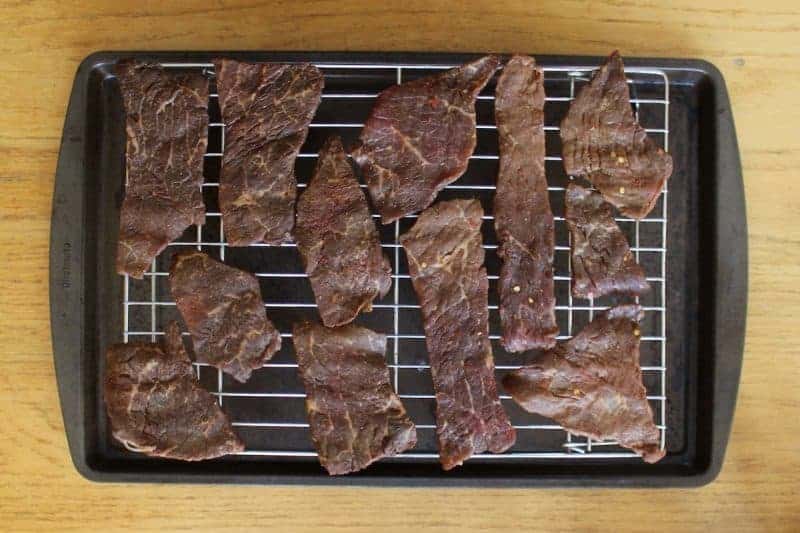
To finish you jerky in a dehydrator, first lay out your meat without the pieces overlapping. Set your dehydrator to 160° and let it run for 4-6 hours for thin slices, or up to 10 hours for thicker pieces.
Remember that you can always tear apart a piece to test the doneness. It should be dry throughout but still slightly pliable.
And if you’re on the fence about getting a dehydrator, remember that you can use them for a lot more than jerky, including fruits and vegetables, grains, and spices.
Option #2 -How to Make Jerky in an Oven
While a dehydrator might be ideal, it’s by no means required, it is quite possible to make jerky without a dehydrator.
To finish jerky in the oven, simply pre-heat to 80°C/ 175° F and place your meat on some kind of small rack.
If you don’t have one, you can place meat directly on an oven rack, but be sure to put a pan or foil below to catch drippings.
Then cook your jerky for 3-4 hours. To remove extra moisture, it’s helpful to open your oven every half hour or so, as Chef John notes in his video.
Option #3 – How to Make Jerky in a Smoker
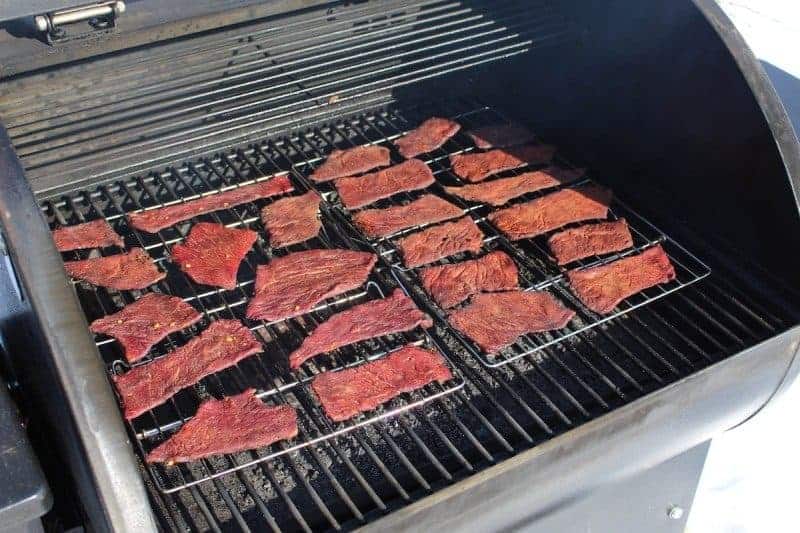
My favorite way to make jerky is in a smoker. The smoke really enhances the flavor, and an added bonus is the vibrant reddish-mahogany color.
Just like with an oven, you’re looking for 80°C/175° F, and your jerky will be done in 3-4 hours. Maintaining 175° will be easier with some smokers than others, but anything in the 150° to 200° range should be fine.
Also, if you don’t have a smoker but want to get started with smoked meats, check out my introduction to smokers for beginners.
As for the type of wood, mesquite has an intense smoke flavor that works well for beef and venison. If you want something more mild, oak and pecan are a couple of awesome, all-purpose woods.
Remember, at the end of the day, smoke is smoke. As long as the wood hasn’t been treated with chemicals and isn’t an evergreen that contains sap, it should work just fine for jerky.
Storing Jerky and a Note on Curing Salt
Make sure your jerky has completely cooled before storing it. You can then put it in a jar or airtight bag, and try to keep it in a cool, dark place.
It should last for at least a couple weeks, and after that you can store it in your freezer if necessary.
If you want to extend the shelf life of your jerky even further, you can add pink curing salt*, also known as Prague Powder #1.
You might have noticed that it’s an optional ingredient in the recipe above, and that’s the case for a lot of jerky recipes. I personally don’t use it because my small batches get eaten up within a week.
However, if you’re making several pounds of jerky, it’s something worth considering.
*Note that this is not the same as Himalayan pink salt, which does not have sodium nitrite.
To Sum Up
I hope you enjoyed this introduction to the world of jerky. Next time your hunting buddy gives you some venison or you see a chunk of top round on sale at the grocery store, definitely try making some jerky.
Jerky is a great way to preserve meat, but you’ll probably find yours won’t last very long!
I love the Ball canning book recipes and instructions combined with my own canners recipe book.

