This post was most recently updated on October 19th, 2021
Splitting, dividing and transplanting or grasses is a really easy way to get free plants for your garden. Read on to find out the best way to divide , and other grasses for your garden.
Please read: This information is provided for educational purposes only and is not intended to treat, diagnose or prevent any disease. We encourage you to make your own health care decisions in partnership with a qualified health care professional.
This post contains affiliate links, this means at no extra cost to you, we make a commission from sales. Please read our Disclosure Statement
RELATED: Plants that will grow from scraps
How to get Free
and grasses are very easy to split up and make many more free plants from one original .
So you can buy one established in a pot for $10 and get 5 or more free plants from it! Or better yet find a willing person to let you lift and split some they have growing in their garden.
Super free!
Common NZ Varieties
There are several varieties of that are common in NZ, they are also grown all over the world under the first part of its scientific name – or by the term ““.
New Zealand is not a true species, the first European traders called it ‘‘ because its fibres were similar to that of true found in other parts of the world. Although we still call it today, harakeke is really a lily !
(Harakeke)
Known as ‘‘ it grows up to three meters high and its stalks can reach up to four meters. It has seedpods that stand upright from the stems and .
(Wharariki)
Also known as the mountain , this is a medium-sized native evergreen, -forming, arching growing to around 1.5m tall with spike and 1m wide.
Within the two species, there are numerous different varieties of . Some have drooping, floppy leaves while others grow as stiff and upright as spears. flowers can vary in colour from yellow to red to orange. Here is a huge variety of cultivars – see this selection
The () that you use in cooking, is from the and it is a totally different . This was the original used for making linen and it usually has a (), yellow flower (golden flax) or a red ().
How to divide New Zealand and transplant it successfully
Dividing and transplanting flax is one of the technically easier, but physically harder things you can do in the garden.
Step One: The hardest thing is probably to dig it out. Use a fork and slowly work your way around the flax (or grass). Stick the fork in the ground and then lean on the handle, slowly lifting the plant. Take a step sideways and repeat. At the end you may need something longer to help pry it up if it is a big flax like a large pry-bar.
Step Two: Wash the mud off most of the roots carefully so you can see what you are doing.
Step Three: Trim all the leaves down with sharp secateurs to about 15-25cm (6-8 inches) for flax and 10-15cm (4-6 inches) for grasses. This reduces their fluid loss and helps them cope with the massive root loss.
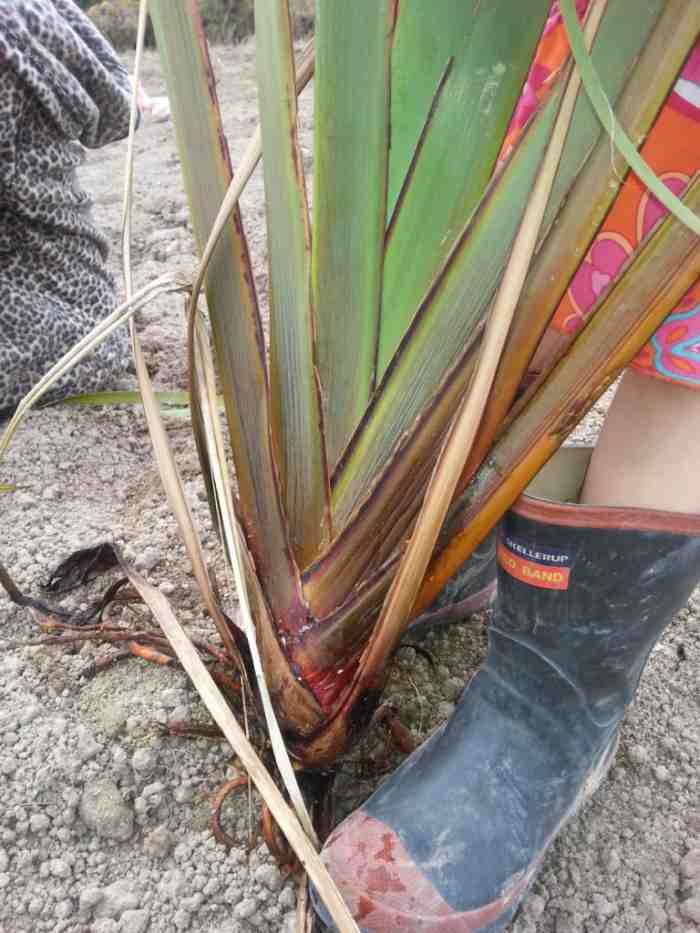
Step Four: Identify the individual plants that make up the whole.
Step Five: Carefully pry the plants and roots apart at the join, you may need some sharp secateurs to aid you in this, but generally they pull apart fairly easily.
Step Six: Either pot up in potting mix or pop directly into your garden.
Step Seven: Water well and keep watering every 2-3 days (unless it rains of course) until you see signs of new growth.
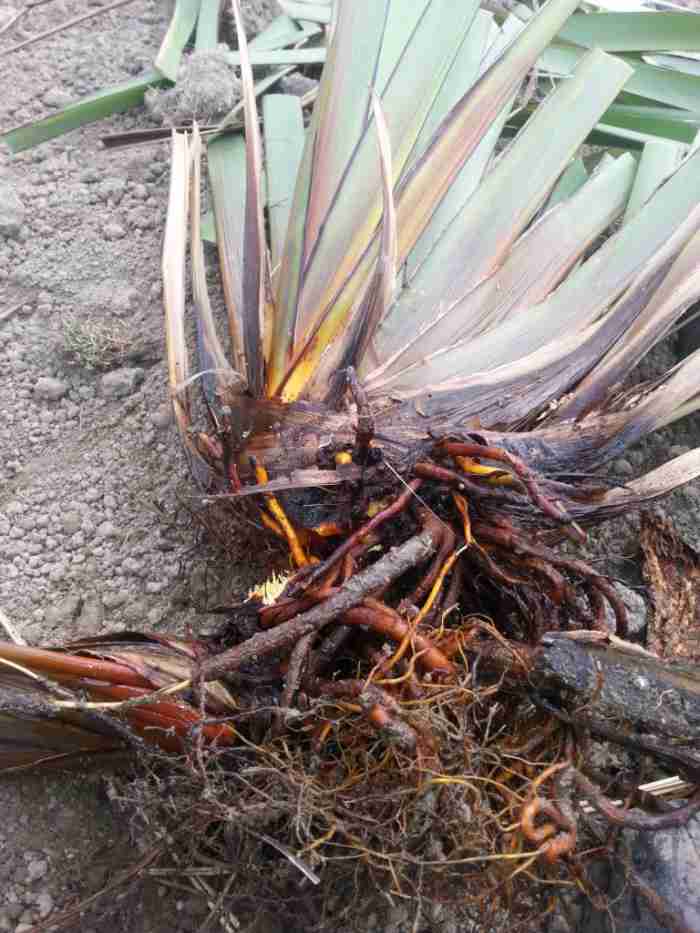
New Zealand root system
The thick and robust root system of a New Zealand bush may extend as wide and deep as the height of the bush, which can be as much as 3 or more meters (9 feet). The majority of the roots in the top 50 cm of the , and in a radius 1.5 m from the centre of the bush.
The main roots are stout and strong, and orange in colour. Then they have networks of fine, white feeder roots.
If you are transplanting or removing NZ , the important roots to consider are the thick orange ones, the plants will quickly regenerate the fine roots once they are replanted.
Propagating from
of NZ from is easy enough for most gardeners to attempt.
The flowers of the NZ turn in to heads over the summer. Once the are mostly dry, you can harvest them and place them inside a paper bag to finish drying.
If the seeds pods are left on the they will usually explode, flinging the seeds far and wide on the wind, so capturing them in a bag before this point is best.
The pods will split easily once dry and the seeds can be planted as they are into moist potting .
For higher and faster germination numbers, you can stratify the seeds by either soaking in hot water for 24 hours, or freezing the seeds for 4-6 weeks.
requirements for NZ
In its natural environment NZ typically grows in wetter areas, on a wide range of soils, but favoring the slightly acidic rich soils.
It responds well to flowing water and periodic flooding, but both ongoing waterlogging and drought can have negative effects. It prefers rich moist , and grows well in peat bogs and wetlands, but it will grow in sandy, well draining along the coast as well.
NZ is commonly grown around ponds, in marshland, as a wind break between or around pasture land, as retention on steep hills or riparian plantings.
With its striking structure and , the smaller mountain is a wonderful addition to your backyard, looking right at home in a as much as it would be in a lush native .
It will happily grow in , full shade, full sun or . It is very adaptable and is an extremely tolerant .
Propagating and
New Zealand will naturally self replicate using production of ramets from underground rhizomes. This means that the plants are really a slow creeper and they will slowly continue to expand.
Older leaves will eventually die, which can leave very old in sort of a ring shape, where the older leaves have died off, and the newer growth has spread outwards.
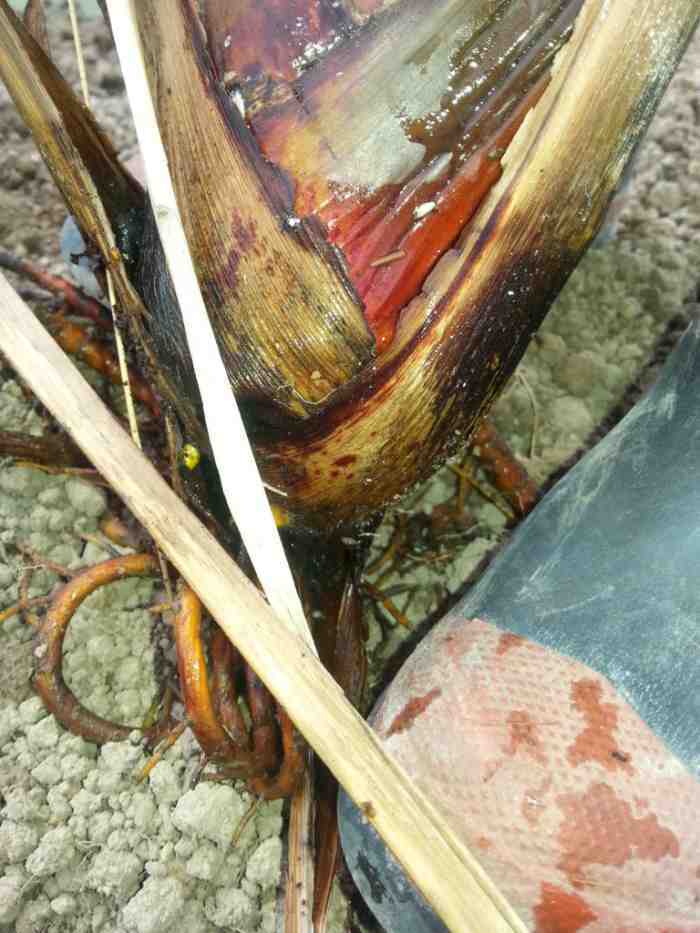
cannot be cultivated from cuttings like a succulent can be. However, if you can get a piece of the base of the where the roots and leaves meet, this can be successfully grown if you give it the right care and attention.
Remove almost all the length of the leaves, leaving a small ‘V’ shaped piece of , about 4-6 inches tall.
Take the base where the leaves meet, and place it in moist potting , ensuring it is well firmed around where you need the roots to grow.
Place in a cool, shady spot and keep moist, it should grow roots within a couple of months, with some growing them in as little as 2-3 weeks.
How to remove
Sometimes a is just in the wrong place and must be moved. have actually managed to become a pest in a few countries, and they are considered an invasive weed in some parts of Australia and Chile.
Ideally, you could find someone that wants your , and they might even come and dig it out for you!
However, if this is not the case for you, here is how you would remove or kill a NZ .
Uprooting/dig out
Using a fork or shovel for smaller plants, or a bulldozer, winch, or digger for larger more established plants.
There is a chance that rhizomes left in the may regrow, however this seems to be a rare occurrence.
Chemical control
are particularly tolerant to many sprays, which is helpful if you are trying to commercially grow, or conserve them, but less helpful if you are wanting to destroy them.
Applying glyphosate at a 5% or more rate with a wetting agent to the bases of cut leaves seems to be most effective.
The species is apparently susceptible to metsulfuron-methyl based herbicides (1).
Growing NZ , or , in your backyard is a simple and effective way to add food for native birds, shelter, a useful crop and a striking visual display all in one beautiful .
If you would like help getting the most out of your garden, I would love to help you, find out more here
RELATED: Free Gardening Resources
If you like tips on frugal living, self sufficiency and consuming less, sign up to our newsletter below, I would LOVE to have you
For further reading, I also recommend all of these books. I own every one of them and they are amazing resources!
Please Pin and Share with your friends and family!


