This post was most recently updated on January 26th, 2021
If you are planning on doing a vegetable garden at home this year early to mid spring is a great time to sow seeds in trays for planting out in mid to late spring (hopefully after the last frost for us down south).
Please read: This information is provided for educational purposes only and is not intended to treat, diagnose or prevent any disease. We encourage you to make your own health care decisions in partnership with a qualified health care professional.
This post contains affiliate links, this means at no extra cost to you, we make a commission from sales. Please read our Disclosure Statement
If you haven’t yet decided to grow your own vegetables, let me convince you! Most seedlings need 4-6 weeks growth before being planted out, in my experience it sometimes takes up to 8 weeks to get a decent sized seedling.
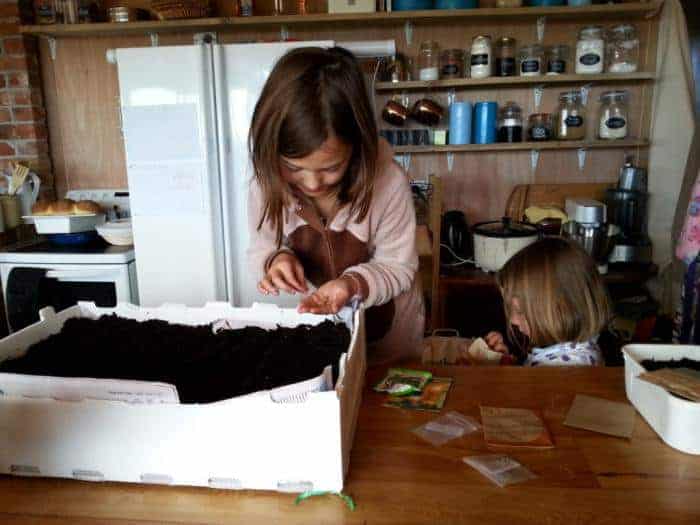
This is a great activity to get the kids involved in, even my 19 month old did his best to help. Once you have ordered your seeds, the next step is to sow them! If you live in NZ I recommend that you look at kings seeds.
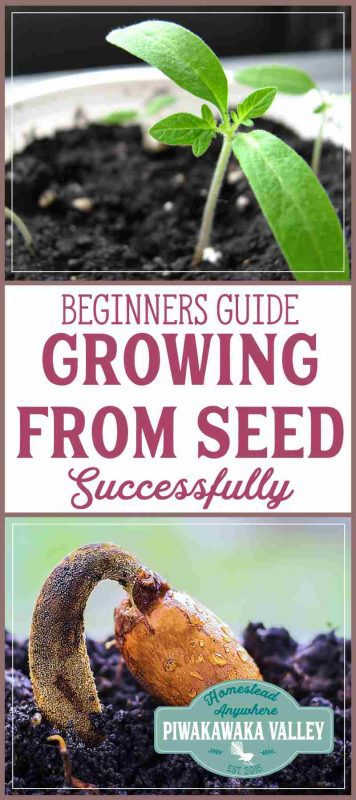
How to Grow Plants from Seed
To start vegetable seedlings in trays you will need:
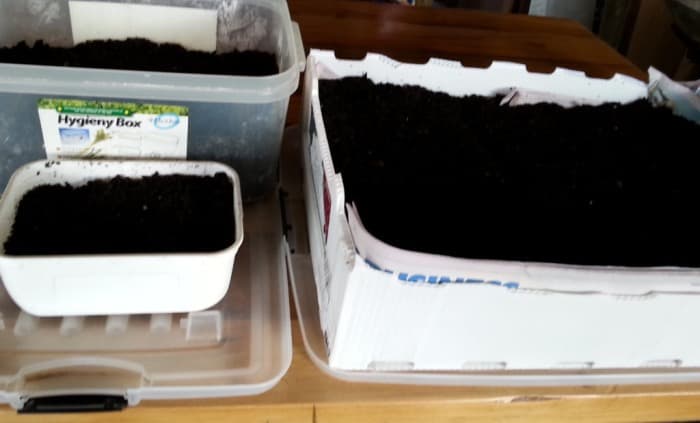
A tray – I have used a mixture of a plastic corrugated box that grapes came in, an old plastic bin and an ice cream pottle. You can pretty much use anything that won’t get soggy and can hold at least 3 1/2-5in/8-12cm of soil.
Even though I am trying to avoid plastic this is a great way to re-purpose that which we already have here, you can also sow in wooden trays which I will do when we use up all the plastic trays.
Soil to Grow Plants from Seed in
I use a cheap potting mix from our local big box store, but you can get specialty seed raising mix that is more finely graded and allegedly grows better seedlings, and is more expensive of course! Or you can do what I plan to do in the future and sieve together half fine soil and half well rotted compost.
Personal Protective Gear
If you are using a commercial potting/seed mix you need to wear a mask and gloves, especially when opening and pouring it as it can harbor spores of the lethal disease legionella. We had a man in the city closest to us die of this a few weeks ago, so it is no joke!
Seeds for starting a garden
Good choices for beginners: Broccoli, cabbage, lettuce, kale, marigolds, onions, leeks, spring onions, silverbeet/swiss chard/ rainbow chard, spinach, beetroot, zucchini, squash/pumpkin, parsley, coriander, basil (I struggle to grow basil out of a glasshouse in Dunedin). You can also try peas and beans, but I find they grow faster being sown directly in their place in the garden.
*Don’t try and transplant carrots or parsnip until you are a super-pro*
How to Grow Plants from Seed Successfully
Step One for growing from seed:
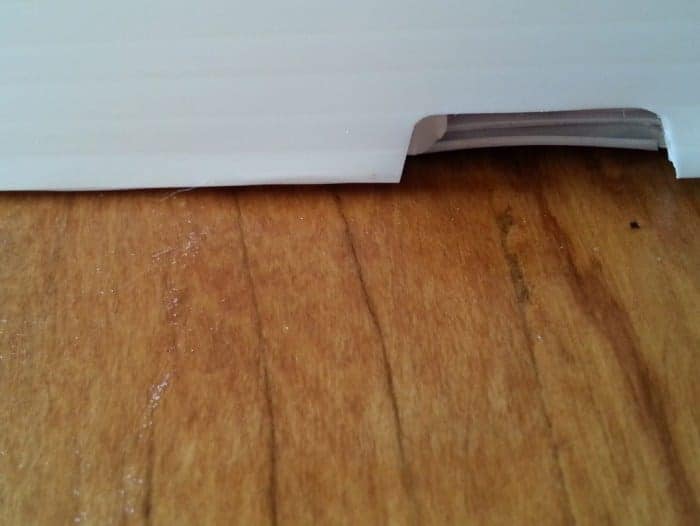
The first thing you will need to do is line your container with 4-5 sheets of newspaper if it has holes in the bottom. If there are no holes then you can skip this step.
Step Two for growing from seed:
Don the personal protective gear – seems crazy and a bit nerdy, but you wouldn’t say that if you died of a preventable illness like Legionnaires’ disease!
Step Three for growing from seed:
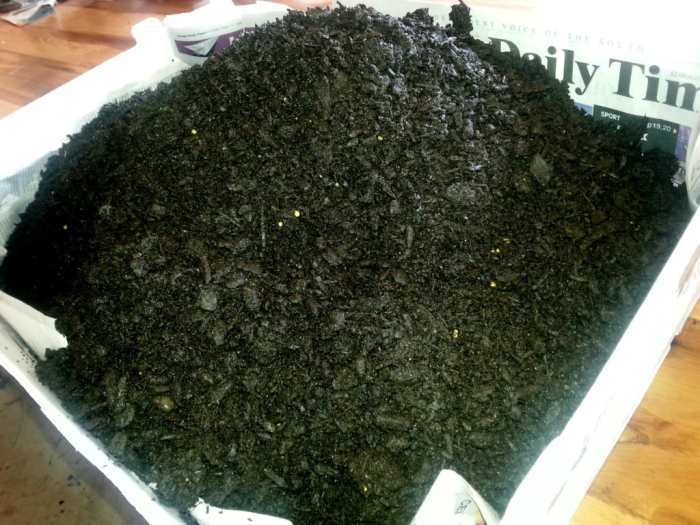
Carefully cut the top of the bag of potting mix (ripping can fling particles in the air). If the mix is dry and dusty, dampen it down with some water. Pour some into your trays, enough to be at least 8cm (1 1/2 – 2 inches).
Step Four for growing from seed:
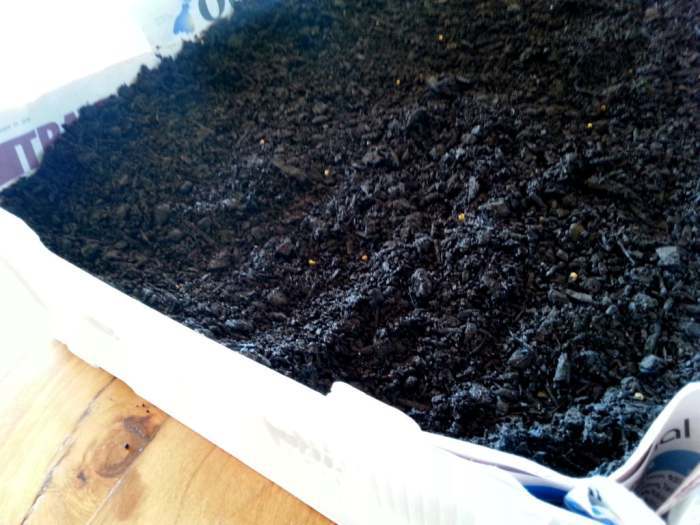
With your hands or a trowel flatten and firm the soil so it is fairly even.
Step Five:
Make some rows about 5cm apart and .5-1cm deep – I just use my finger to do this. For larger seeds like zucchini or pumpkin/squash you are better off making holes 3-5cm deep, I use either my finger, a marker pen or a fat stick.
Step Six:
Sow seeds, for tiny seeds simply sprinkle evenly along the row and dust a small amount of soil over the top then firm down gently.
Don’t worry about spacing at this stage as you can thin them out once you see what is growing – very seldom will you get a 100% strike rate with seeds, especially if the seeds are older like mine are.
For larger seeds pop them down their holes, then cover them so the soil is level with the rest of the tray.

Step Seven:
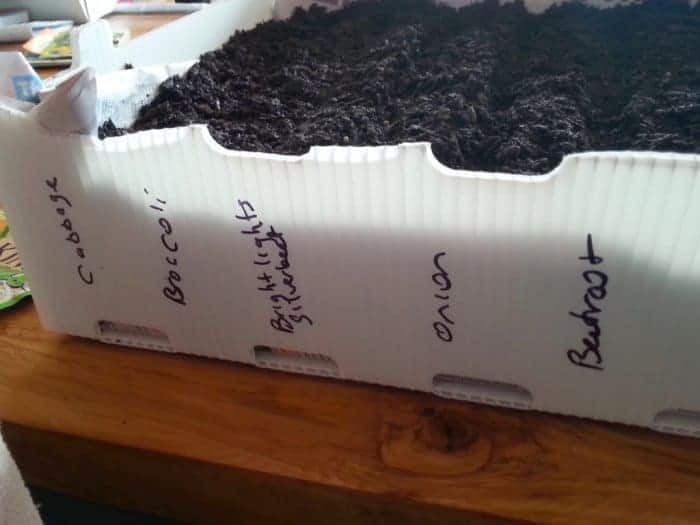
Label your rows! You can use iceblock sticks, strips of ice cream container lids or write directly on the trays.
This also a great time to start a garden diary – write in the date, the types and varieties that you are planting, and leave room to put the date and volume of harvest. This will come in very useful later when you are deciding on varieties to get for next time.
Step Eight:
Mist with water – an old cleaner spray bottle that has been well washed is good. You don’t want to use a watering can yet as it will just wash the tiny seeds away!
Step Nine:
Place the seeds somewhere they will get indirect sunlight. This means they can see the sun, but it doesn’t really fall directly one them as they will dry out very fast. Mist them with water each day.
Potting seedlings on once they have grown
Once the plants have sprouted, it is time to move them somewhere very bright. A window with plenty of direct light, or under a grow light is ideal.
This will prevent the seedlings from getting too long and spindly.
Keep the seedlings damp, with plenty of airflow to prevent mould or rot.
Once the seedlings have developed their first set of true leaves (the second set of leaves that it grows) it is time to plant it out into a larger seedling pot.
To do this use 2 inch pots filled with potting mix. Poke a hole down through the middle of the potting mix with a pencil.
Carefully lift the baby seedling with a knife or the pencil and gently place it in its new hole. Firm the soil around it and give it a water.
Peat pots are ideal for this, but you can reuse the 6 or 12 cell plastic pots you get seedlings in. Ask around, you will be able to get these for free.
Planting seedlings out in the Garden
Once your seedlings have 6-8 true leaves, they are ready to transplant out the the garden. Dig a hole big enough for both the seedling and the soil in the pot.
Carefully remove the plant from the pot (or not if you are using peat pots you just plant the whole thing) and place in the hole.
Once in the ground, backfill with soil and firm the soil around them. Mulch well and give it a good drink of water every day until you see fresh growth.
What tips or tricks would you share with newbies? Please let me know in the comments below!
If you like tips on frugal living, self sufficiency and consuming less, sign up to our newsletter below, I would LOVE to have you!
If you would like help getting the most out of your garden, I would love to help you, find out more here
RELATED: Free Gardening Resources
If you like tips on frugal living, self sufficiency and consuming less, sign up to our newsletter below, I would LOVE to have you
For further reading, I also recommend all of these books. I own every one of them and they are amazing resources!
Please Pin and Share with your friends and family!
Read here if you missed the first episode of growing a garden from scratch.
EPISODE 3 – How to grow herbs and tubers
