This post was most recently updated on September 15th, 2020
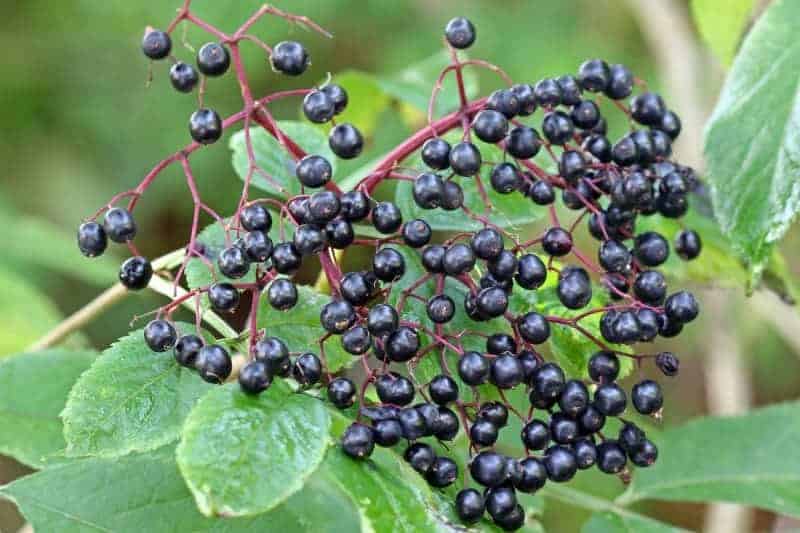
Elderberries (Sambucus canadensis) are gaining in popularity at the moment, with a return to old methods to boost your immune system and with new scientific evidence that it actually works, adding an elderberry tree or two to your yard might be a good idea. In New Zealand Elderberry bushes are considered an invasive weed by many. But the good thing about this is that it is very easy to propagate your own elder trees and bushes. Follow these easy instructions or watch the propagation video to grow elderberry from cuttings.
Please read: This information is provided for educational purposes only and is not intended to treat, diagnose or prevent any disease. We encourage you to make your own health care decisions in partnership with a qualified health care professional.
This post contains affiliate links, this means at no extra cost to you, we make a commission from sales. Please read our Disclosure Statement
How long does it take for elderberry to produce fruit?
It takes two years from planting until you get fruit from an elderberry bush.
RELATED: How to safely use elderberries
How big do elderberry bushes get?
It depends how you maintain it. Left to its own an elder will grow up to 20 feet tall. Most people coppice their trees once a year, or every other year forcing the elderberry to be a shrub instead, these usually grow 5-6 feet tall.
When should elderberry be pruned?
The recommended pruning time for an elderberry bush is during the late autumn/fall or winter, when the bush is dormant.
Pruning involves removing canes that are 4 years old, or older, and any dead canes, as well as any that are too crowded. Ideally after pruning, the elderberry bush will have an equal number of 1-, 2- and 3-year-old canes.
You coppice the tree to 1/2 – 1 foot above the ground and allow the new canes to grow up from there.
How to propagate elderberry from cuttings
You can choose to either do softwood cuttings in early spring, or hardwood cuttings in autumn or winter.
Softwood cutting are taking some of the bright green new stems and placing them in soil. The challenge is to keep the soil wet enough that they plant doesn’t dry out without making it so wet that it rots. Also you must keep the air humid so that the leaves don’t wilt, but with enough air movement that mould doesn’t set in.
RELATED: How to dry elderberries at home
This is why I prefer the following, hardwood method:
In late Autumn/fall or early winter pick branches that are new growth but have firmed up and are brown, avoid soft floppy green growth. You are looking for branches that are at least as thick as a pencil and up to the thickness of your pinky finger.
Cut the branches in to sticks that are about 6-8 inches long – enough that it has one leaf node at the start and one at the top of the stick.
Remove any side shoots or leaves and place the sticks bottom end down in a jar that is filled halfway with water. Place the jar out of direct sunlight somewhere warm and change the water every few days. After 4-8 weeks you will have plenty of roots formed where you can carefully pot up your new trees.
Take care of your baby trees until Spring time, at which point they should be established enough to plant out once your last frost.
RELATED: How I save tons of money by grafting our own trees
Growing Elderberry shrubs
Elderberries prefer partial shade and would rather be cool and moist than hot and dry. Proper drainage is key to preventing root rot, so avoid any place prone to standing water.
It is best if you plant at least two elderberry bushes, no more than 60 feet apart. This ensures you get the full benefit of cross pollination with more fruit on both bushes.
Allow plenty of space between plants. They need plenty of air to circulate between the shrubs, this means they will fare against diseases.
Since they can grow up to 20 feet tall and six feet across, mature bushes will need lots of room to thrive unless you are planning on keeping them pruned.
Elderberry bushes have very shallow roots and prefer not to be surrounded by weeds, so if you can remove the weeds and keep the tree mulched to keep them at bay.
RELATED: Delicious fruit to grow at home that you can’t buy in the store
Is Elderberry safe? I thought it was poisonous?
The elderberry plant contains a cyanogenic glycoside sambunigrin (1) which must be deactivated by heating before you eat or drink elderberry.
A cyanogenic glycoside contains a cyanide group attached to a sugar. When digested, it is released, and can harm the body. This is much more concentrated in the stems, bark, leaves and seeds of the berries, less so in the flesh or juice.
Elderberries also contain an alkaloid called sambucine which causes nausea and vomiting if you eat it.
Because these components are easily deactivated through heat, we are able to produce a finished product that does not contain any of the dangerous types of alkaloids or glycosides.
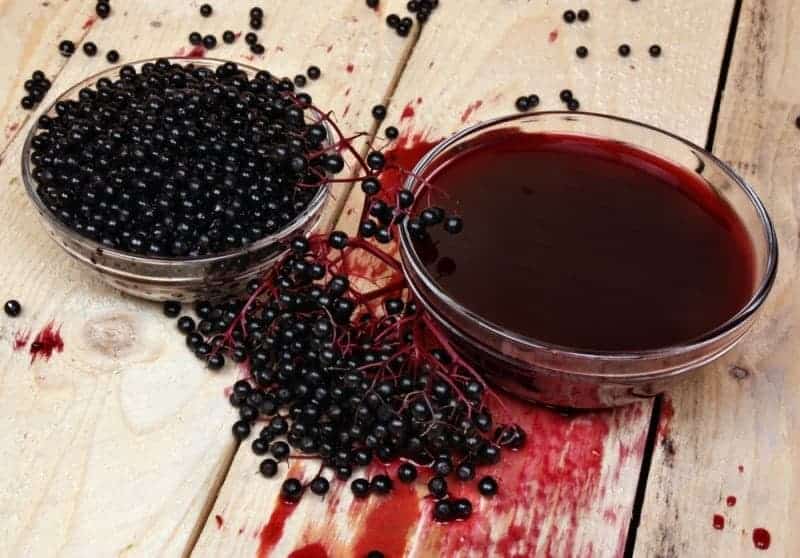
Once you have your own thriving patch of elderberries, you can make your own elderberry syrup at home. As well as a selection of pies and jams. The local bird life will also love you for your elderberry bushes!
If you would like help getting the most out of your garden, I would love to help you, find out more here
RELATED: Free Gardening Resources
If you like tips on frugal living, self sufficiency and consuming less, sign up to our newsletter below, I would LOVE to have you


