This post was most recently updated on July 31st, 2026
If you’ve ever tried making beeswax wraps using one of the simple recipes online, there’s a good chance you’ve been disappointed.
Please read: This information is provided for educational purposes only and is not intended to treat, diagnose or prevent any disease. We encourage you to make your own health care decisions in partnership with a qualified health care professional.
This post contains affiliate links, this means at no extra cost to you, we make a commission from sales. Please read our Disclosure Statement
Maybe they cracked when you folded them.
Maybe they weren’t sticky enough to stay wrapped around your sandwich.
Or perhaps they left flakes of beeswax all over your food after a few weeks.
I’ve been there too.
After experimenting with several different recipes, I eventually discovered why commercial beeswax wraps work so much better than the basic “grated beeswax on cotton” versions you’ll often find online.
The secret is that the best reusable food wraps don’t just contain beeswax.
They also contain jojoba oil for flexibility and tree resin (damar resin or pine resin) for the natural tackiness that allows the wraps to grip bowls and stick to themselves.
The result is a wrap that’s softer, more durable, far less likely to crack, and will last for many months with proper care.
If you’re looking for a homemade beeswax wrap recipe that performs like the commercial zero-waste wraps, this is the one I recommend.
Watch Me Make These Beeswax Wraps
If you’d rather watch the entire process first, here’s the step-by-step video where I make these wraps from start to finish.
Seeing how thick the coating should be and how the finished wraps look makes the whole project much easier.
After you’ve watched the video, continue reading below for all the details, troubleshooting tips and answers to the most common questions.
Quick Answer
To make durable beeswax wraps, melt together 100g beeswax, 20g damar resin (or pine resin), and 3 teaspoons of jojoba oil. Brush the mixture onto thin cotton fabric, warm it in the oven until the coating soaks through evenly, then allow it to cool. The finished wraps become reusable food wraps that can replace plastic cling wrap for bread, cheese, sandwiches, fruit and leftovers.
Contents
Why Make Beeswax Wraps?
Plastic wrap is one of those products that’s become so common we hardly notice how often we use it.
Wrapping sandwiches.
Covering leftovers.
Keeping cheese fresh.
Wrapping fruit for lunches.
Taking a plate of baking to friends.
It’s incredibly convenient.
Unfortunately it’s also designed to be thrown away after a single use.
Once plastic wrap enters the environment it can persist for decades, and wildlife often mistakes it for food.
When we first started reducing the amount of plastic in our kitchen, replacing cling film was one of the biggest changes we made.
Homemade beeswax wraps quickly became one of those simple swaps that we actually stuck with.
They’re reusable, washable, compostable at the end of their life, and they genuinely work.
Better still, food often keeps fresher because the fabric allows it to breathe rather than trapping moisture like plastic wrap does.
No more sweaty cheese.
No more soggy sandwiches.
No more slimy avocado.
Why This Recipe Works Better Than Simple Beeswax Wrap Recipes
One thing you’ll notice if you search online is that many tutorials tell you to simply sprinkle grated beeswax over cotton fabric and bake it in the oven.
While that certainly produces a waxed cloth but it usually doesn’t produce a particularly good beeswax wrap.
I tried those methods when I first started making reusable food wraps and was honestly disappointed.
The wraps cracked.
They weren’t very sticky.
They became brittle fairly quickly.
Most importantly, they didn’t grip bowls or cling to themselves the way commercially made wraps do.
After experimenting with several different combinations, I discovered why.
Commercial beeswax wraps almost always contain three main ingredients:
Beeswax provides the waterproof coating.
Tree resin adds the natural tackiness that helps the wrap stick to itself.
Jojoba oil keeps everything flexible so the coating bends instead of cracking.
The extra ingredients make a remarkable difference.
Although they’re slightly harder to source, they’re well worth it if you want wraps that last for months instead of weeks.
Ingredients You’ll Need
One of the nice things about this project is that there aren’t many ingredients.
Once you’ve sourced them the first time, you’ll usually have enough left over to make several batches.
For approximately six sandwich-sized wraps you’ll need:
| Ingredient | Amount | Purpose |
|---|---|---|
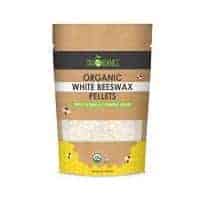
| Beeswax | 100g (3.5 oz) | Creates the waterproof coating. |
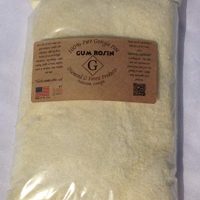
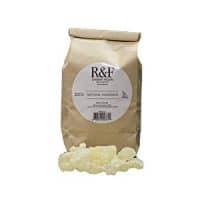
| Damar resin or pine resin | 20g (.7 oz) | Adds stickiness and durability. |
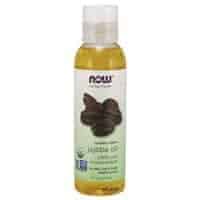
| Jojoba oil | 3 teaspoons (15ml) | Keeps the wraps soft and flexible. |
| 100% cotton fabric | Six 30 x 30cm squares | Forms the reusable wrap. |
If you’re making these in New Zealand I found my things here:
Choosing the Best Fabric
The fabric you choose has a much bigger impact than most people realise.
When I made my very first beeswax wraps, I used heavy calico because that’s what I had available.
It seemed like a sensible choice.
It wasn’t.
The fabric was simply too thick.
It soaked up huge amounts of wax, became stiff, and refused to wrap neatly around bowls or sandwiches.
Since then I’ve had much better results using lightweight 100% cotton.
Quilting cotton works beautifully.
Old cotton bed sheets also work surprisingly well if you’re happy with plain colours.
The thinner the fabric, the easier it is for the wax mixture to penetrate evenly.
That means softer wraps that last longer and fold much more easily.
I usually wash and dry the fabric before cutting it into squares so any shrinkage happens before the wax goes on.
For lunchboxes, a square around 30cm (12 inches) works well, while larger pieces are perfect for covering salad bowls, platters and bread dough.
What Type of Beeswax Should You Use?
One of the questions I’m asked most often is whether it matters if you use beeswax pellets, blocks or grated beeswax.
The good news is that they’re all exactly the same product.
The only real difference is how quickly they’ll melt.
Beeswax pellets (sometimes called pastilles) are convenient because they’re already small enough to go straight into the pot. If you’ve bought beeswax in larger blocks, simply grate it with a cheese grater or chop it into small pieces before melting.
The smaller the pieces, the faster and more evenly they’ll melt, which makes the whole process much easier.
If you’re lucky enough to keep your own bees or know a local beekeeper, this is a wonderful use for clean beeswax cappings.
Why Do We Use Jojoba Oil?
At first glance, adding oil to beeswax might seem a little strange, but it serves a very important purpose.
Pure beeswax becomes quite brittle once it cools.
That’s why simple beeswax-only wraps often crack after they’ve been folded a few times.
Jojoba oil softens the coating, making it much more flexible. Instead of cracking, the wrap bends comfortably around bowls, sandwiches and blocks of cheese.
Jojoba oil has another advantage too.
It’s naturally stable, food safe and has antimicrobial properties, making it an excellent choice for reusable food wraps.
I’ve experimented with several different oils over the years and jojoba consistently gives the nicest finish.
If you can’t find jojoba oil, olive oil or sweet almond oil can be substituted, although the wraps may feel slightly different and won’t have the same long shelf life.
I wouldn’t recommend coconut oil because it becomes quite hard at normal room temperatures, making the finished wraps much stiffer.
Why Add Tree Resin?
If there’s one ingredient that transforms homemade beeswax wraps from “okay” to “wow”, it’s tree resin.
This is the ingredient that gives the wraps their natural tackiness.
Without it, the fabric simply doesn’t grip very well.
The wrap may fold over itself, but it won’t cling tightly around bowls or stay wrapped around your lunch.
Adding tree resin creates that gentle stickiness that makes commercial beeswax wraps so satisfying to use.
You can use either damar resin or pine resin.
I personally prefer damar resin because it has a much milder smell. Pine resin certainly works, but it has a stronger aroma that can linger on the wraps for a while, particularly when they’re new.
Damar resin is commonly used by artists in oil painting and furniture finishing, but it’s also used in food glazes and is considered food safe.
Don’t worry if your resin comes in large crystals.
Simply crush it into small pieces before adding it to the beeswax. Smaller pieces melt much more quickly and create a smoother mixture.
Equipment You’ll Need
You don’t need any specialised equipment, but I do recommend using older utensils that you’re happy to dedicate to wax projects.
Beeswax has an uncanny ability to cling to everything it touches, and while it eventually cleans off, it’s much easier if you’re not worried about keeping your favourite saucepan spotless.
For this project you’ll need an old saucepan or double boiler, a paintbrush for applying the wax mixture, a baking tray lined with aluminium foil or baking paper, and either a mortar and pestle or something heavy to crush the resin.
If your beeswax comes in large blocks, a standard cheese grater also makes life much easier.
One of my favourite little tips is to line the baking tray with foil rather than baking paper. Any excess wax that drips onto the foil can simply be picked up by the next piece of fabric, meaning almost nothing goes to waste.
How to Make Beeswax Wraps
Step 1 – Melt the Beeswax and Resin
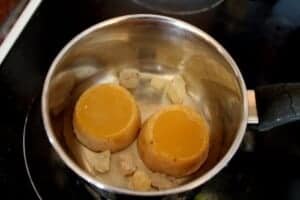
Begin by adding the beeswax and crushed damar resin to an old saucepan.
If you’re using an open flame, I strongly recommend using a double boiler rather than placing the saucepan directly over the heat.
Beeswax is flammable once it reaches high temperatures, and a double boiler keeps everything much safer by gently heating the mixture with steam rather than direct heat, especially if you have a gas cooktop. I use a pot directly on my ceramic top stove, but do this at your own risk.
Stir occasionally as everything melts together but stay there with it the whole time, if it smokes heavily for any reason, your element is too hot, remove it from the heat and put a lid on it to avoid it bursting into flame.
Don’t worry if the resin takes a little longer than the beeswax—it usually does.
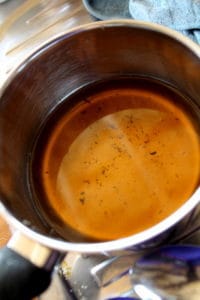
Once everything has completely melted together, remove the pan from the heat and stir through the jojoba oil.
You’ll immediately notice the mixture becoming beautifully smooth and glossy.
One confession…
When I photographed this tutorial I was feeling a little lazy and didn’t bother crushing the resin or chopping the beeswax as finely as I normally would. It still worked perfectly, but it definitely took longer to melt than it should have!
Step 2 – Prepare Your Fabric
While your wax mixture is melting, it’s time to prepare the fabric.
I always recommend washing and drying your fabric before cutting it.
This removes any sizing left over from the manufacturing process and allows the wax mixture to soak into the fibres much more evenly.
Once the fabric has been washed, cut it into whatever sizes you’ll use most often.
I generally make a mixture of sizes because they all end up getting used around the kitchen.
Smaller wraps are perfect for:
Wrapping cheese, half an avocado, lemons and children’s snacks.
Medium wraps are ideal for:
Sandwiches, homemade bread rolls and lunchboxes.
Larger wraps become incredibly useful for covering mixing bowls, salad bowls and platters when guests come over.
The recipe here makes around six sandwich-sized wraps measuring approximately 30 × 30cm (12 × 12 inches).
For this batch I actually made mine considerably larger because Christmas was coming up and I knew I’d be covering lots of platters.
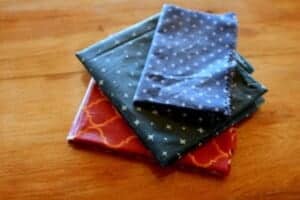
If you own pinking shears, they’re worth using as the zig-zag edge helps reduce fraying over time.
I didn’t own any when I originally made these, so straight cuts worked perfectly well too.
Step 3 – Paint on the Wax Mixture
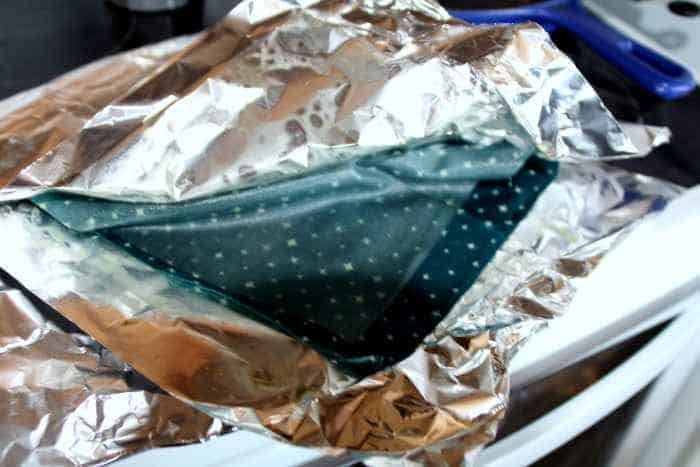
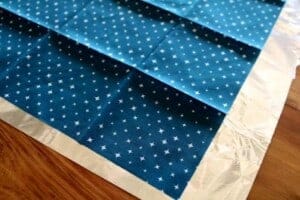
Once everything has completely melted together, place one piece of fabric onto a sheet of aluminium foil.
Using an old paintbrush, begin brushing the wax mixture over one side of the fabric.
Don’t worry about making it absolutely perfect.
The wax cools surprisingly quickly, and the oven will help it spread through the fibres evenly in the next step.
I usually start in the middle and brush towards the edges, making sure every part of the fabric has at least a light coating.
It’s much easier to add a little more later than it is to remove excess wax.
If your mixture begins thickening while you’re working, simply place the saucepan back over gentle heat for a minute or two.
Step 4 – Bake Until the Wax Soaks Through
Preheat your oven to around 100°C (200°F).
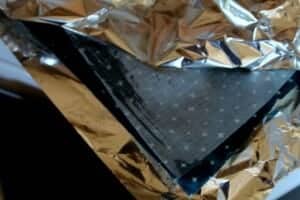
Place the foil and fabric onto a baking tray and pop it into the oven for about five minutes.
As the wax warms again, it melts deep into the fibres of the cotton.
When you remove the tray you’ll probably notice darker patches where the wax has soaked through completely and lighter patches where it hasn’t reached yet.
This is perfectly normal.
If needed, simply brush on a little more wax mixture and return the wrap to the oven for another two or three minutes.
Your goal is an even coating all the way through the fabric—not thick blobs sitting on top.
Once the entire piece looks evenly saturated, it’s ready.
Step 5 – Cool the Wraps
Remove the fabric from the baking tray while it’s still warm.
I usually lift it off using a pair of kitchen tongs, although if you’re careful it cools quickly enough that you can often pick it up by hand after a few seconds.
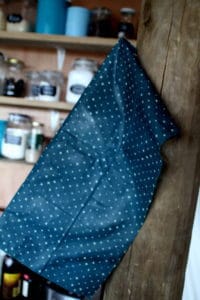
Simply wave it gently through the air or hang it over a clothes airer, drying rack or even the oven door.
Within two or three minutes the coating will have hardened and your wrap is ready to use.
It’s always a satisfying moment.
The floppy piece of cotton suddenly transforms into a reusable food wrap with a beautiful soft finish.
Cleaning Up Afterwards
If you’ve ever worked with beeswax before, you’ll know that it has a habit of sticking to absolutely everything.
Fortunately there’s one simple trick that makes cleaning much easier.
Before washing your saucepan, wipe out as much of the remaining wax as possible using old paper towels or rags.
Removing most of the wax first stops it coating your sink and makes washing up much easier.
Another option is to leave the remaining wax in the saucepan until your next batch.
If you regularly make beeswax wraps, this saves both time and waste.
Using Your Homemade Beeswax Wraps
Using beeswax wraps is wonderfully simple.
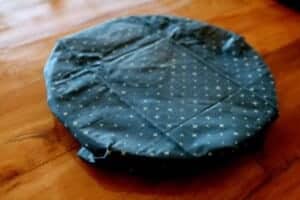
Place the wrap over your food or container, then gently warm it with your hands for a few seconds.
Your body heat softens the wax mixture just enough for the wrap to mould around bowls, plates or food.
As it cools again, it holds its shape surprisingly well.
We use ours almost every day.
They’re perfect for wrapping:
Fresh bread, sandwiches, cheese, muffins, slices, biscuits, fruit, vegetables and lunchbox snacks.
They also make excellent covers for rising bread dough, leftovers and salad bowls.
One thing I don’t recommend is wrapping raw meat.
Raw meat juices can soak into the fabric and are difficult to remove completely, making it much harder to keep the wraps hygienic.
For anything containing raw meat or fish, I still use containers with washable lids instead.
How to Care for Your Beeswax Wraps
One of the nicest things about homemade beeswax wraps is that they aren’t disposable.
With a little care, the same wraps can last anywhere from six months to a year of regular use before they need refreshing.
Looking after them is surprisingly easy, and after a while it simply becomes part of your normal kitchen routine.
How to Wash Beeswax Wraps
Because the coating is made from beeswax, resin and oil, hot water is the enemy.
Heat softens the wax, which means washing your wraps in hot water or putting them through the dishwasher will gradually remove the protective coating.
Instead, wash them by hand in cool or lukewarm water using a small amount of mild dishwashing liquid.
Once they’re clean, simply hang them over the dish rack or clothes airer until they’re dry.
They’ll usually be ready to use again within a few minutes.
How Long Do Beeswax Wraps Last?
That depends on how often you use them.
In our kitchen, where they’re used almost every day, they generally last somewhere between six and twelve months before they need a fresh coating.
If you only use them occasionally, they’ll often last much longer.
The first thing you’ll usually notice isn’t that they stop working completely.
Instead, they gradually become less sticky.
The coating slowly wears away with washing and repeated use.
Fortunately, that doesn’t necessarily mean it’s time to throw them away.
How to Make Beeswax Wraps Sticky Again
If your wraps aren’t sticking as well as they used to, don’t panic.
Most wraps can be refreshed in just a few minutes.
The first thing I always do is give them a proper wash.
Dust, crumbs and cooking oils slowly build up on the surface, reducing the natural tackiness of the resin.
A gentle wash in cool water with a little dish soap is often all they need.
If they’re still not gripping properly after they’ve dried, place them on a foil-lined baking tray and warm them in a low oven at around 100°C (200°F) for three to five minutes.
This melts the coating just enough for it to redistribute itself evenly through the fabric again.
Allow them to cool completely before testing them.
You’d be surprised how many wraps this simple trick brings back to life.
If they’re still not sticky enough after that, it’s probably time for a fresh coat of wax mixture.
Why Are My Beeswax Wraps Too Sticky?
Believe it or not, it’s possible to have the opposite problem too.
If your wraps leave wax behind on bowls or feel almost tacky enough to pull fibres off tea towels, you’ve probably applied a little too much coating.
This happened to me on one of my early batches.
I thought more wax would make better wraps.
It didn’t.
The easiest fix is to place the wrap back into a low oven for a few minutes until the coating melts again.
Then gently blot the surface with another piece of cotton fabric or a paper towel to absorb the excess.
Once cooled, the wrap should feel much more natural.
If you find this keeps happening, try reducing the amount of mixture you brush onto the fabric next time.
It’s amazing how little you actually need.
Can Beeswax Wraps Be Recoated?
Absolutely.
In fact, one of the biggest advantages of making your own wraps is that you already have the recipe for refreshing them.
Rather than throwing an old wrap away, simply brush on a fresh, thin layer of the beeswax mixture and repeat the oven process.
Within minutes your wraps will often feel almost like new again.
Eventually the fabric itself will begin wearing out, but by then you’ve usually had years of use from what started as a simple piece of cotton.
When they finally reach the end of their life, cotton fabric coated in natural beeswax can usually be composted.
Frequently Asked Questions
Can you make beeswax wraps without tree resin?
Yes, but I don’t recommend it if you want wraps that perform like commercial ones. Beeswax-only wraps tend to crack more easily and don’t cling nearly as well.
Can you make beeswax wraps without jojoba oil?
Yes. Olive oil or sweet almond oil are suitable substitutes, but jojoba oil consistently produces the most flexible and durable wraps.
Can I use old bed sheets?
Definitely. Thin 100% cotton sheets make excellent reusable food wraps and are a great way to upcycle fabric you already have.
Can I use flannelette?
It’s generally too thick. Lightweight woven cotton works much better because the wax can soak evenly through the fibres.
Can I wrap cheese?
Yes, and it’s one of my favourite uses. Cheese actually stores beautifully because the fabric allows it to breathe instead of trapping moisture.
Can I wrap sourdough bread?
Absolutely. Beeswax wraps are wonderful for homemade bread because they help prevent it drying out while avoiding the condensation that often forms inside plastic bags.
Can I freeze food in beeswax wraps?
You can for short periods, but the wraps become much stiffer when frozen. Containers generally work better for long-term freezer storage.
Can I microwave beeswax wraps?
No. The heat will melt the coating.
Can they go in the dishwasher?
No. The hot water will quickly ruin the wax coating.
Do beeswax wraps really replace plastic wrap?
For most everyday kitchen jobs, yes. Ours have almost completely replaced cling film for sandwiches, leftovers, baking and cheese.
Final Thoughts
Learning how to make beeswax wraps was one of the simplest changes we made when trying to reduce waste in our kitchen, and it’s a project I still recommend to friends years later.
They’re practical, surprisingly easy to make and genuinely useful.
Best of all, once you’ve made a batch, you’ll probably find yourself reaching for them almost every day.
If you’re giving homemade beeswax wraps as gifts, don’t be surprised if people ask you where you bought them. The combination of beeswax, jojoba oil and tree resin creates wraps that feel remarkably similar to the expensive commercial versions.
I hope this guide helps you avoid the trial and error that I went through while experimenting with different recipes.
If you make a batch, I’d love to hear how they turn out. Leave a comment below and let me know what fabrics, patterns or tips you’ve discovered along the way.
Related Articles
If you enjoyed this project, you might also like:
- How to Make Apple Cider Vinegar with the Mother
- How to Make 100% Coconut Oil Soap
- How to Care for Beeswax Wraps
Please Pin & Share
If you found this tutorial helpful, I’d really appreciate you sharing it with someone who’s trying to reduce plastic waste or enjoys making things from scratch. Every share helps more people discover traditional, sustainable skills.





Related: Caring for your wraps properly
CLEAN UP TIP – wipe your pot out with paper towels/rags before attempting to wash it.
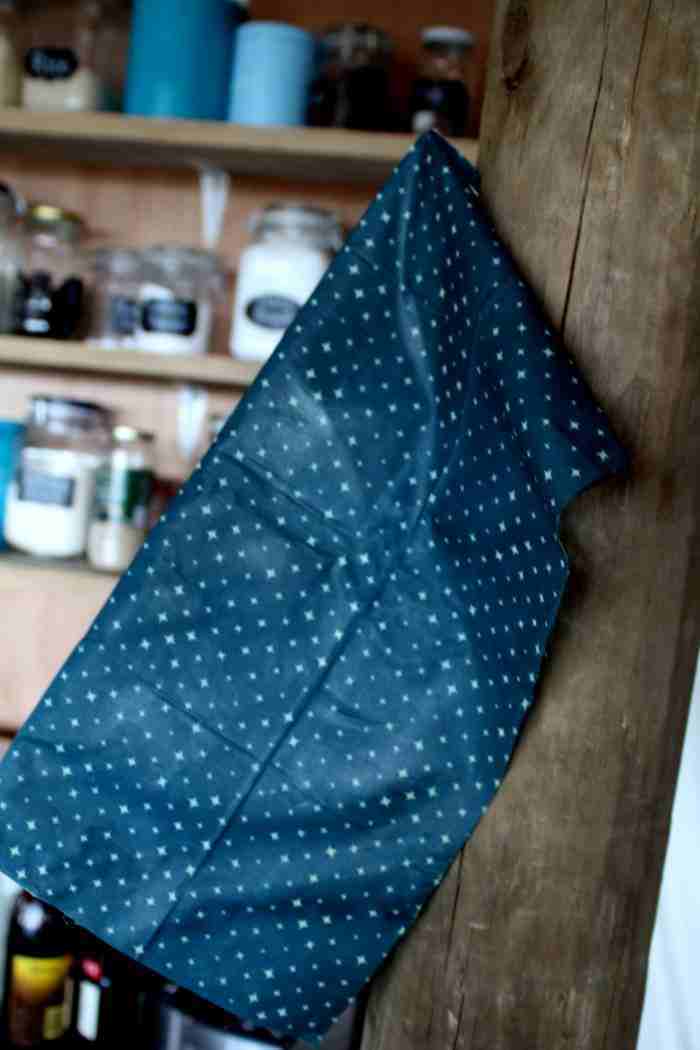
Got any questions? What do you use instead of plastic wrap? Let me know in the comments below!
Like this? Please Pin and Share with your friends!
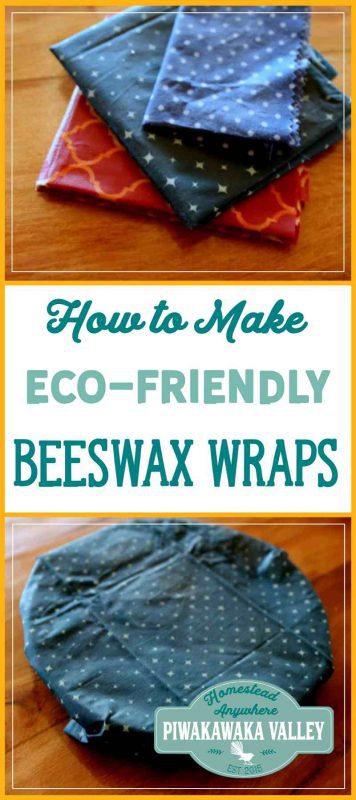
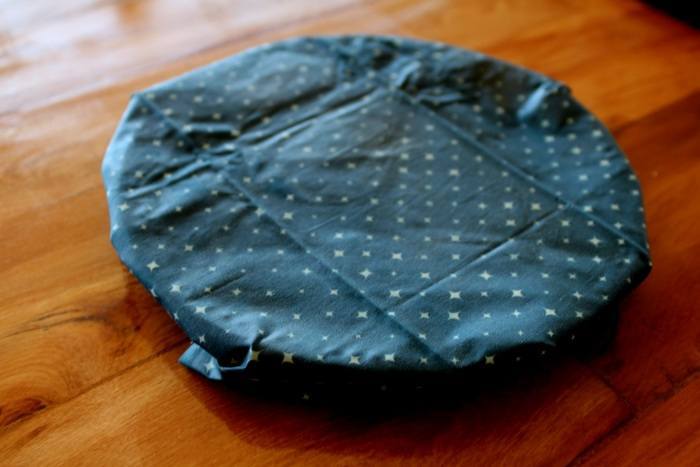
These are a beeswax, tree rosin and oil infused cloth, that self-adheres, is reusable and can come in any pattern or size you like. In fact, the beeswax-infused cloth is better for storing food in because it also breathes so your food won't sweat. No more slimy soggy cheese edges or squishy avocado. I use tongs to pick it up with, though it cools very quickly, sometimes I use my fingers and just wave it in the air a bit to set it. Now it is ready to use, simply place your beeswax wrap over the dish that you want to cover, and use the warmth of your hands to soften the wrap and help the wax to stick to itself. Do not use your beeswax wrap to wrap meat, the juices can soak in to the cloth and cause bad bacteria to infect it (not to mention the stink!) Beeswax wraps are perfect to wrap bread, cake, cookies, cheese, nuts and sandwidges. These homemade food wraps are great for school lunches, or to keep your homemade bread fresh, or stop your cheese sweating in the fridge. As an Amazon Associate and member of other affiliate programs, I earn from qualifying purchases.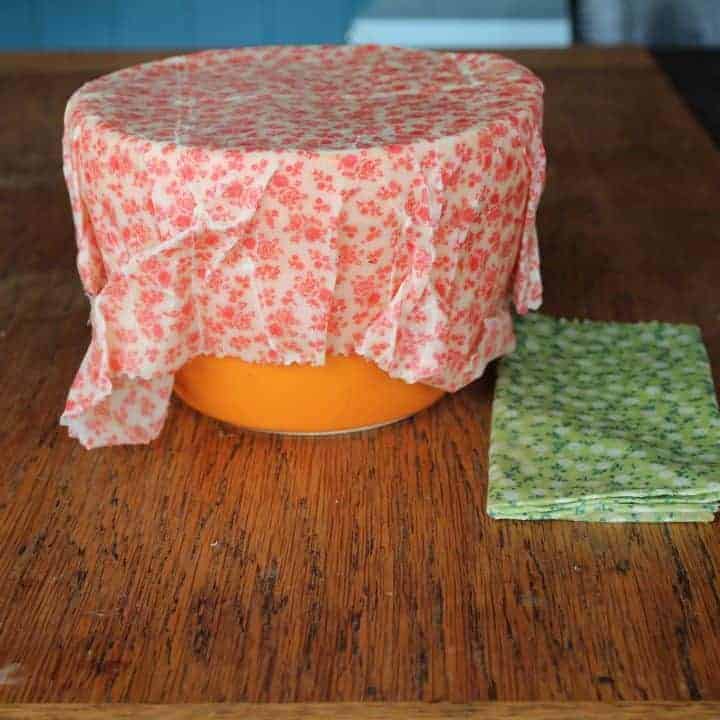
How to Make Beeswax Wraps
Materials
Tools
Instructions
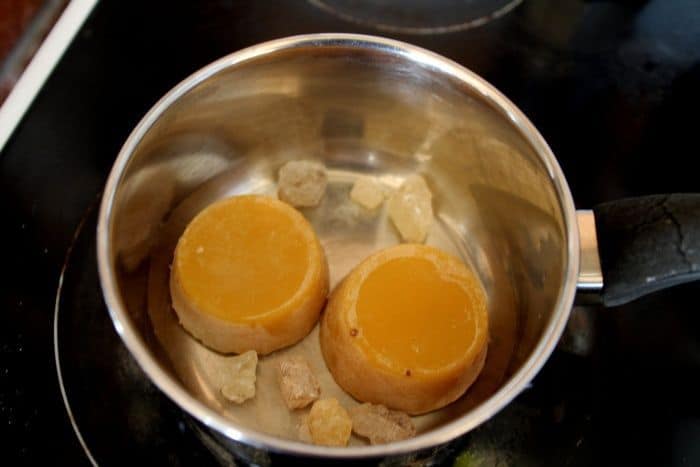
So today I was lazy and didn't chop or crush, it worked, but it would have been much easier to melt if the pieces were smaller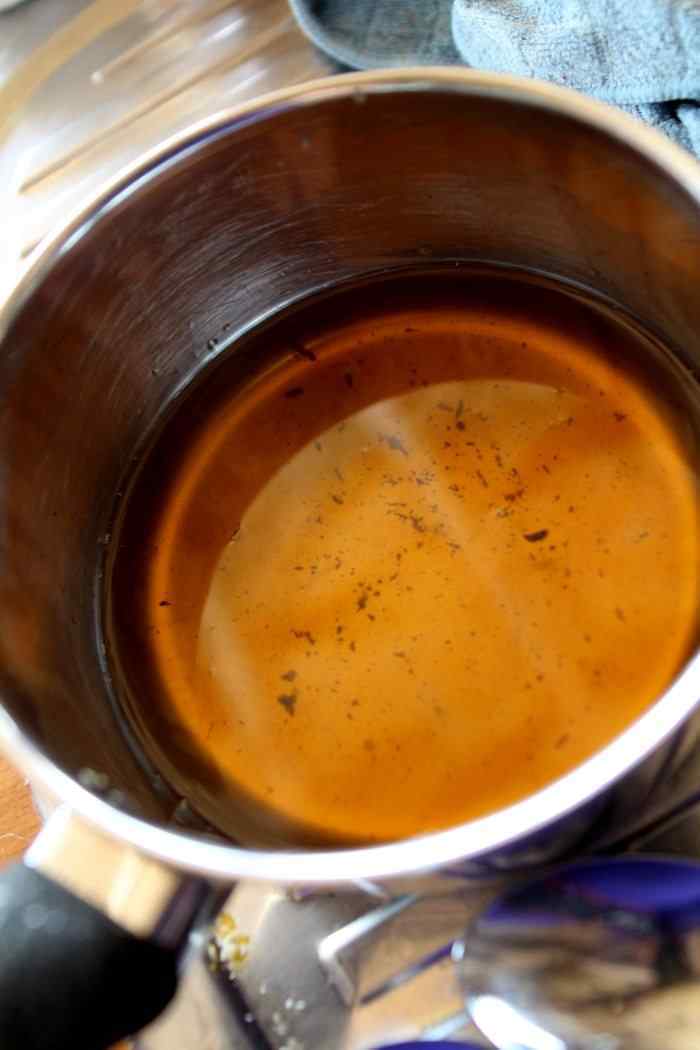

It is not a trick, these are bigger than stated, I wanted some large ones for platters for the festive season. These are 'fat quarters' 50x52cm.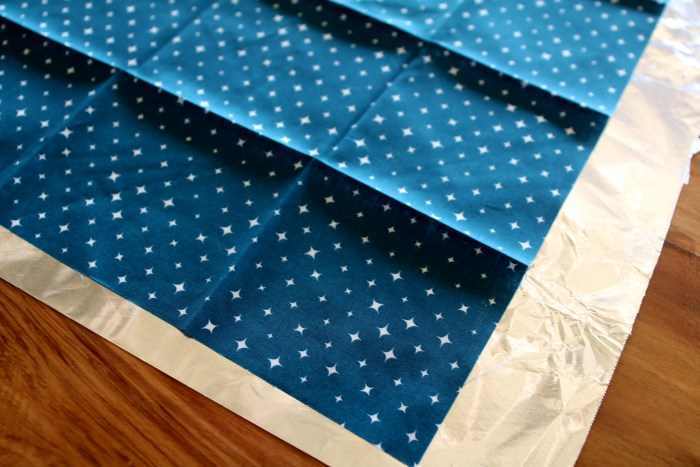
Try and get it even-ish, it cools fairly quickly and heating it in the oven helps even it out.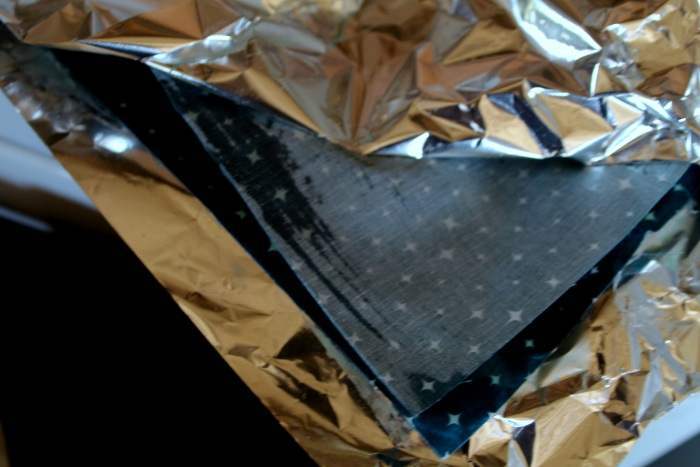
See here the dark patch is where the wax has soaked through, the rest has not yet soaked through.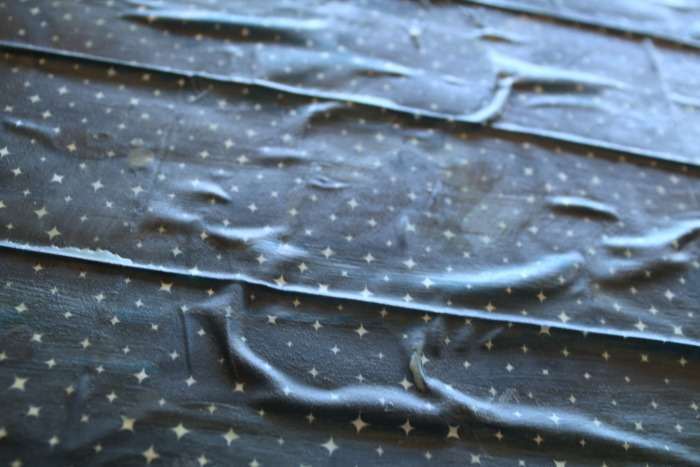
Here you can see it is totally soaked through with the wax.CLEAN UP TIP - wipe your pot out with paper towels/rags before attempting to wash it.
Recommended Products