This post was most recently updated on January 26th, 2021
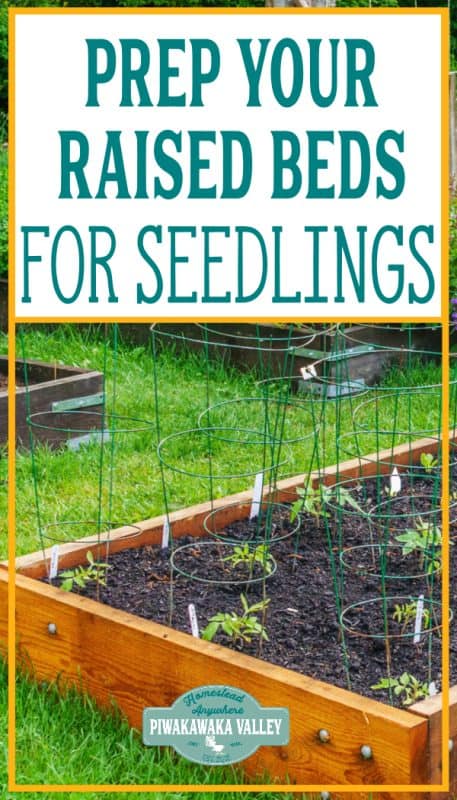
So you have decided to grow a garden?! Yay for you! The trick to getting the very best harvest from your labor is to do it right from the beginning. Below I will show you exactly how to prepare a raised garden bed for planting vegetables.
Please read: This information is provided for educational purposes only and is not intended to treat, diagnose or prevent any disease. We encourage you to make your own health care decisions in partnership with a qualified health care professional.
This post contains affiliate links, this means at no extra cost to you, we make a commission from sales. Please read our Disclosure Statement
Why use raised beds?
There are many different ways to garden. You can grow straight in the ground, use pots, use raised beds without edges (basically long mounded areas) or use constructed raised beds.
Each different way of gardening has its benefits and downsides. The upside to using either mounded or edged raised beds are:
- More plants in less space
- Easier to maintain
- Less waste of compost and other amendments
- You don’t walk on the beds
- Easier for crop planning and rotation
- The look pretty
Looking at your soil in the raised bed
Once you have your raised bed made, it is time to fill it with soil. There are many different options for this.
You can do a lasagne styled layering, starting with newspaper or cardboard and then topping it with layers of manure, leaves, mulch and then ending with a top layer of finished compost or topsoil.
You can buy in or use existing topsoil that you have – this is often the cheapest option, but the soil may contain weed seeds and have a low organic matter level.
Compost is another popular choice for filling raised beds. Compost is often lower in minerals and can be low in nitrogen if it is wood based and hasn’t finished rotting down totally yet. Find out more here.
Manure based compost has the risk of being contaminated with aminopyralid and it may kill whatever you choose to grow in there. Find out more here.
For an indepth look at turning bad soil into good soil, read here.
Usually the best option is a mixture of 50% topsoil and 50% well rotted compost.
Loosen soil
Plants grow best in soil that they can easily push their roots through. If your soil is hard and compacted, you will want to loosen the soil with a garden fork, or a broad fork.
Dig the fork in deep and then swing on the handle backwards and forwards without flipping the soil. Then remove the fork, move it a little further backwards and repeat the steps.
This loosens the soil down deep without mixing up the soil web, crushing the soil structure or forming a hard pan down deep like tilling can do.
RELATED: How to plan a vegetable garden
Removing weeds
Once your garden bed is filled, or if it is already, it is time to remove the weeds. If the weeds are obvious, you can pull them out by hand. I love my weeding hook for this. Annual weeds that have not yet seeded can go on the compost heap.
If the weeds are not yet up, you can do what is called a stale seed bed trick. This is when you treat the garden like it has seedlings in it, and you water it daily. This encourages any weed seeds in the top layer to germinate. You can then disturb them with the weeder hook or a weeding hoe.
If you have time, you can cover the whole bed in a dark coloured tarpaulin. This warms the soil and encourages the weeds to germinate, and then it smothers them so they die. This takes about 3 weeks.
Adding compost
Compost in itself is not a fertilizer, it is however a brilliant way to feed your soil life and to improve both drainage and water retention of soil.
Compost feeds the worms, fungi and microbiota that then in turn will help feed your plants.
It is best to add 1-2 inches of compost to each garden bed once per year. It is much easier to add it at the begining of the season before the plants go in the ground.
Adding amendments
Amendments include fertilizers, minerals and pH balancers.
I like to add blood and bone meal to each garden bed, as well as some crushed rock (rock dust) and a little bit of dolomite lime.
Blood and bone is high in nitrogen and phosphorus. You can add it in as a powder (follow the directions on the packet) and rake it in to the top few inches of the soil.
Rock dust or crushed gravel is a good way to add minerals to the soil, the little microbiota will slowly break it down and make it available to your plants.
Dolomite lime has both magnesium and calcium and it helps to make the pH less acidic.
If you need your soil to be more acidic try adding peat, pine needles, manure or elemental sulphur. If you aren’t sure, grab a cheap test – better to know than to just guess!
Till vs no-till
If you have a new garden that you are trying to get ready for planting quickly, then tilling in the compost and annual weeds can be a quick and easy solution.
Long term no till, no dig beds actually give you a bigger harvest for less work as it allows the natural soil web to establish and feed your plants.
Personally, we choose not to till as I feel it is better for the soil while being less work and one less machine that I need to have.
Mulching
Once your garden bed is weed free, composted and amended, I like to add the mulch now. This is easier than trying to mulch around seedlings!
Mulching options include:
- Grass clippings
- Wood mulch
- Saw dust
- Straw
- Pea straw
- Hay
- Plastic mulch
The benefits to mulching with an organic material is that it helps to protect the soil structure and keeps the weeds down and the moisture in.
RELATED: The ultimate guide to mulching
Watering
Keep your garden moist even before you plant your seedlings. Dry soil is very hard to rehydrate and it kills of the soil life.
Once your seedlings are in the ground you should ensure they are getting 1-2 inches of water per week. If it is raining a day or two a week then this might be enough, otherwise it is best to water them to ensure they don’t dry out.
RELATED: Tips for watering your garden the right way
We have a grey water system set up to water the tunnel house everytime I wash a load of washing. You can set something like this up too – find out about it here.
Shade hoops and Low tunnels
If your area gets very hot, shade hoops are a great way of keeping your crops cool and reducing moisture loss.
If your area is cooler, you can use low tunnels to warm the soil up earlier and to protect the crops from a late frost. These are also helpful in the Autumn/Fall to protect from early frosts.
Protection from pests
Birds, chickens, butterflies (well, their caterpillars anyway) and other such pests will dig out or eat newly planted seedlings and seeds.
You can keep them off by using a insect netting, or even keep a frost fleece over the top and weigh it down with rocks.
Planting your seedlings
Once your soil is prepped properly, you can get your seedlings planted. Pull the mulch back to expose the soil in each spot that you want to put a seedling.
Make sure that you are planting in the soil, not in the mulch layer.
Water them well and cover them with whatever protection you think they need.
Read here to discover more on transplanting seedlings the best way.
You should also check out our post on succession gardening
We have a free interactive succession garden planning spreadsheet that you can access by signing up to our newsletter!
If you would like help getting the most out of your garden, I would love to help you, find out more here
RELATED: Free Gardening Resources
If you like tips on frugal living, self sufficiency and consuming less, sign up to our newsletter below, I would LOVE to have you
For further reading, I really recommend all of these books. I own every one of them and they are amazing resources!

![]()

![]()

![]()
![]()

![]()